
Maybe you’ve tried to frost cookies and they end up looking like a sad Pinterest fail. Or maybe you’ve even tried to get all fancy with piping and your frosting was too runny and ended up sliding completely off your cookie. I’m not claiming to be a professional baker or cookie-decorator, but I like to think that I can make a cute cookie when the occasion calls for it! Practicing your cookie decorating skills is a delicious hobby. And although I have shaky hands, learning how to frost sugar cookies in a way that makes me feel all giddy has always been fun for me. (But maybe the giddiness has more to do with the sneaky bites of dough and frosting…)
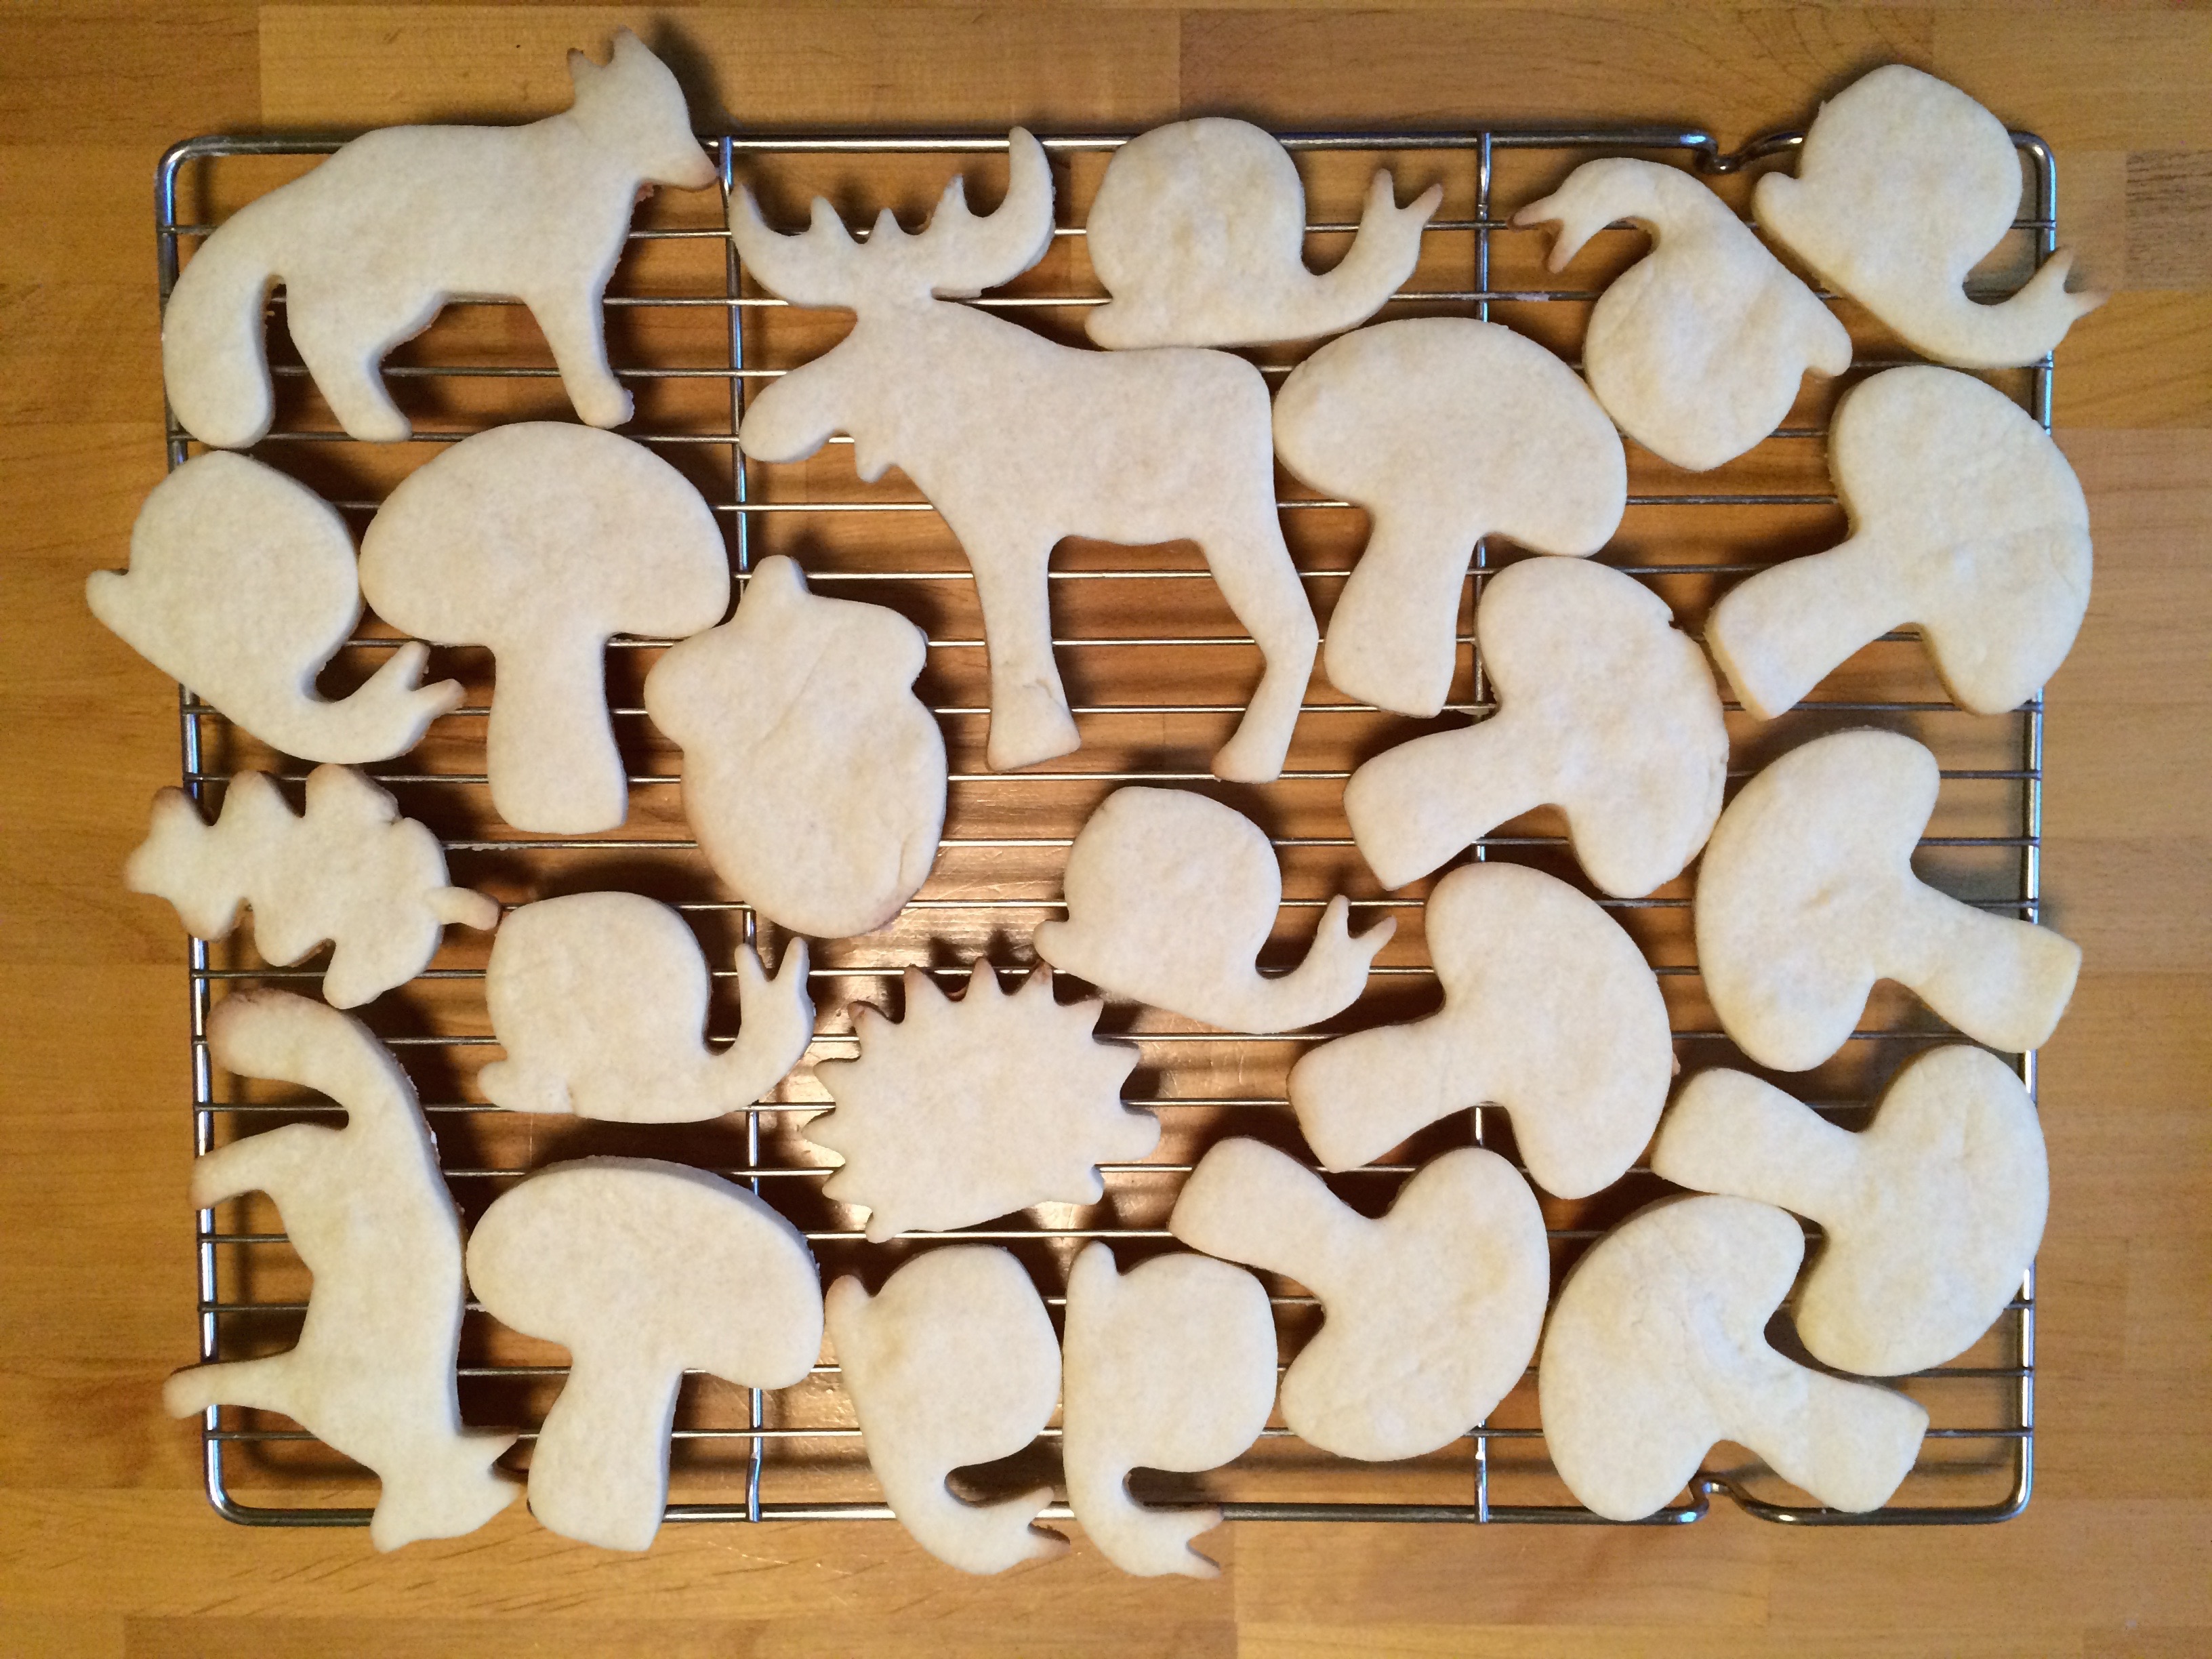
First, start with a firm dough recipe (like this one) and fun cookie cutters! I suggest a firm dough because, if you use store-bought dough – like the kind that comes in a tube – your cookies might lose their shape. Also, choose fun cookie cutters in a variety of shapes and sizes! Using an interesting shape does half of the “cute” work for you. I found most of the cookie cutters I used for this batch from Ikea and a local kitchen store.

Then, make a white royal icing and outline your designs. I just used one egg white and 1 & 1/2 cups powdered sugar to make mine (mix on high until fully blended, should be very thick). Put the icing in a piping bag or bottle, or even a ziplock bag with a small hole! For these cookies, I knew I wanted red & white mushrooms. So I outlined the mushroom, filled in the stem, and made the polka dots all with the royal icing.
Now you’re going to “flood” the royal icing once it’s dry. Basically, you’re going to make a thinner icing (I just use powdered sugar, milk, and food dye), that will fill all the empty spaces created by your royal icing. I like to put the thinner icing in a piping bottle too, but that’s just so that I have more control. You can use a spoon to carefully drizzle the icing in the correct areas. The royal icing dries in about a minute – so usually by the time I’m done with the white outlines I’m ready to start in with the colored icing!
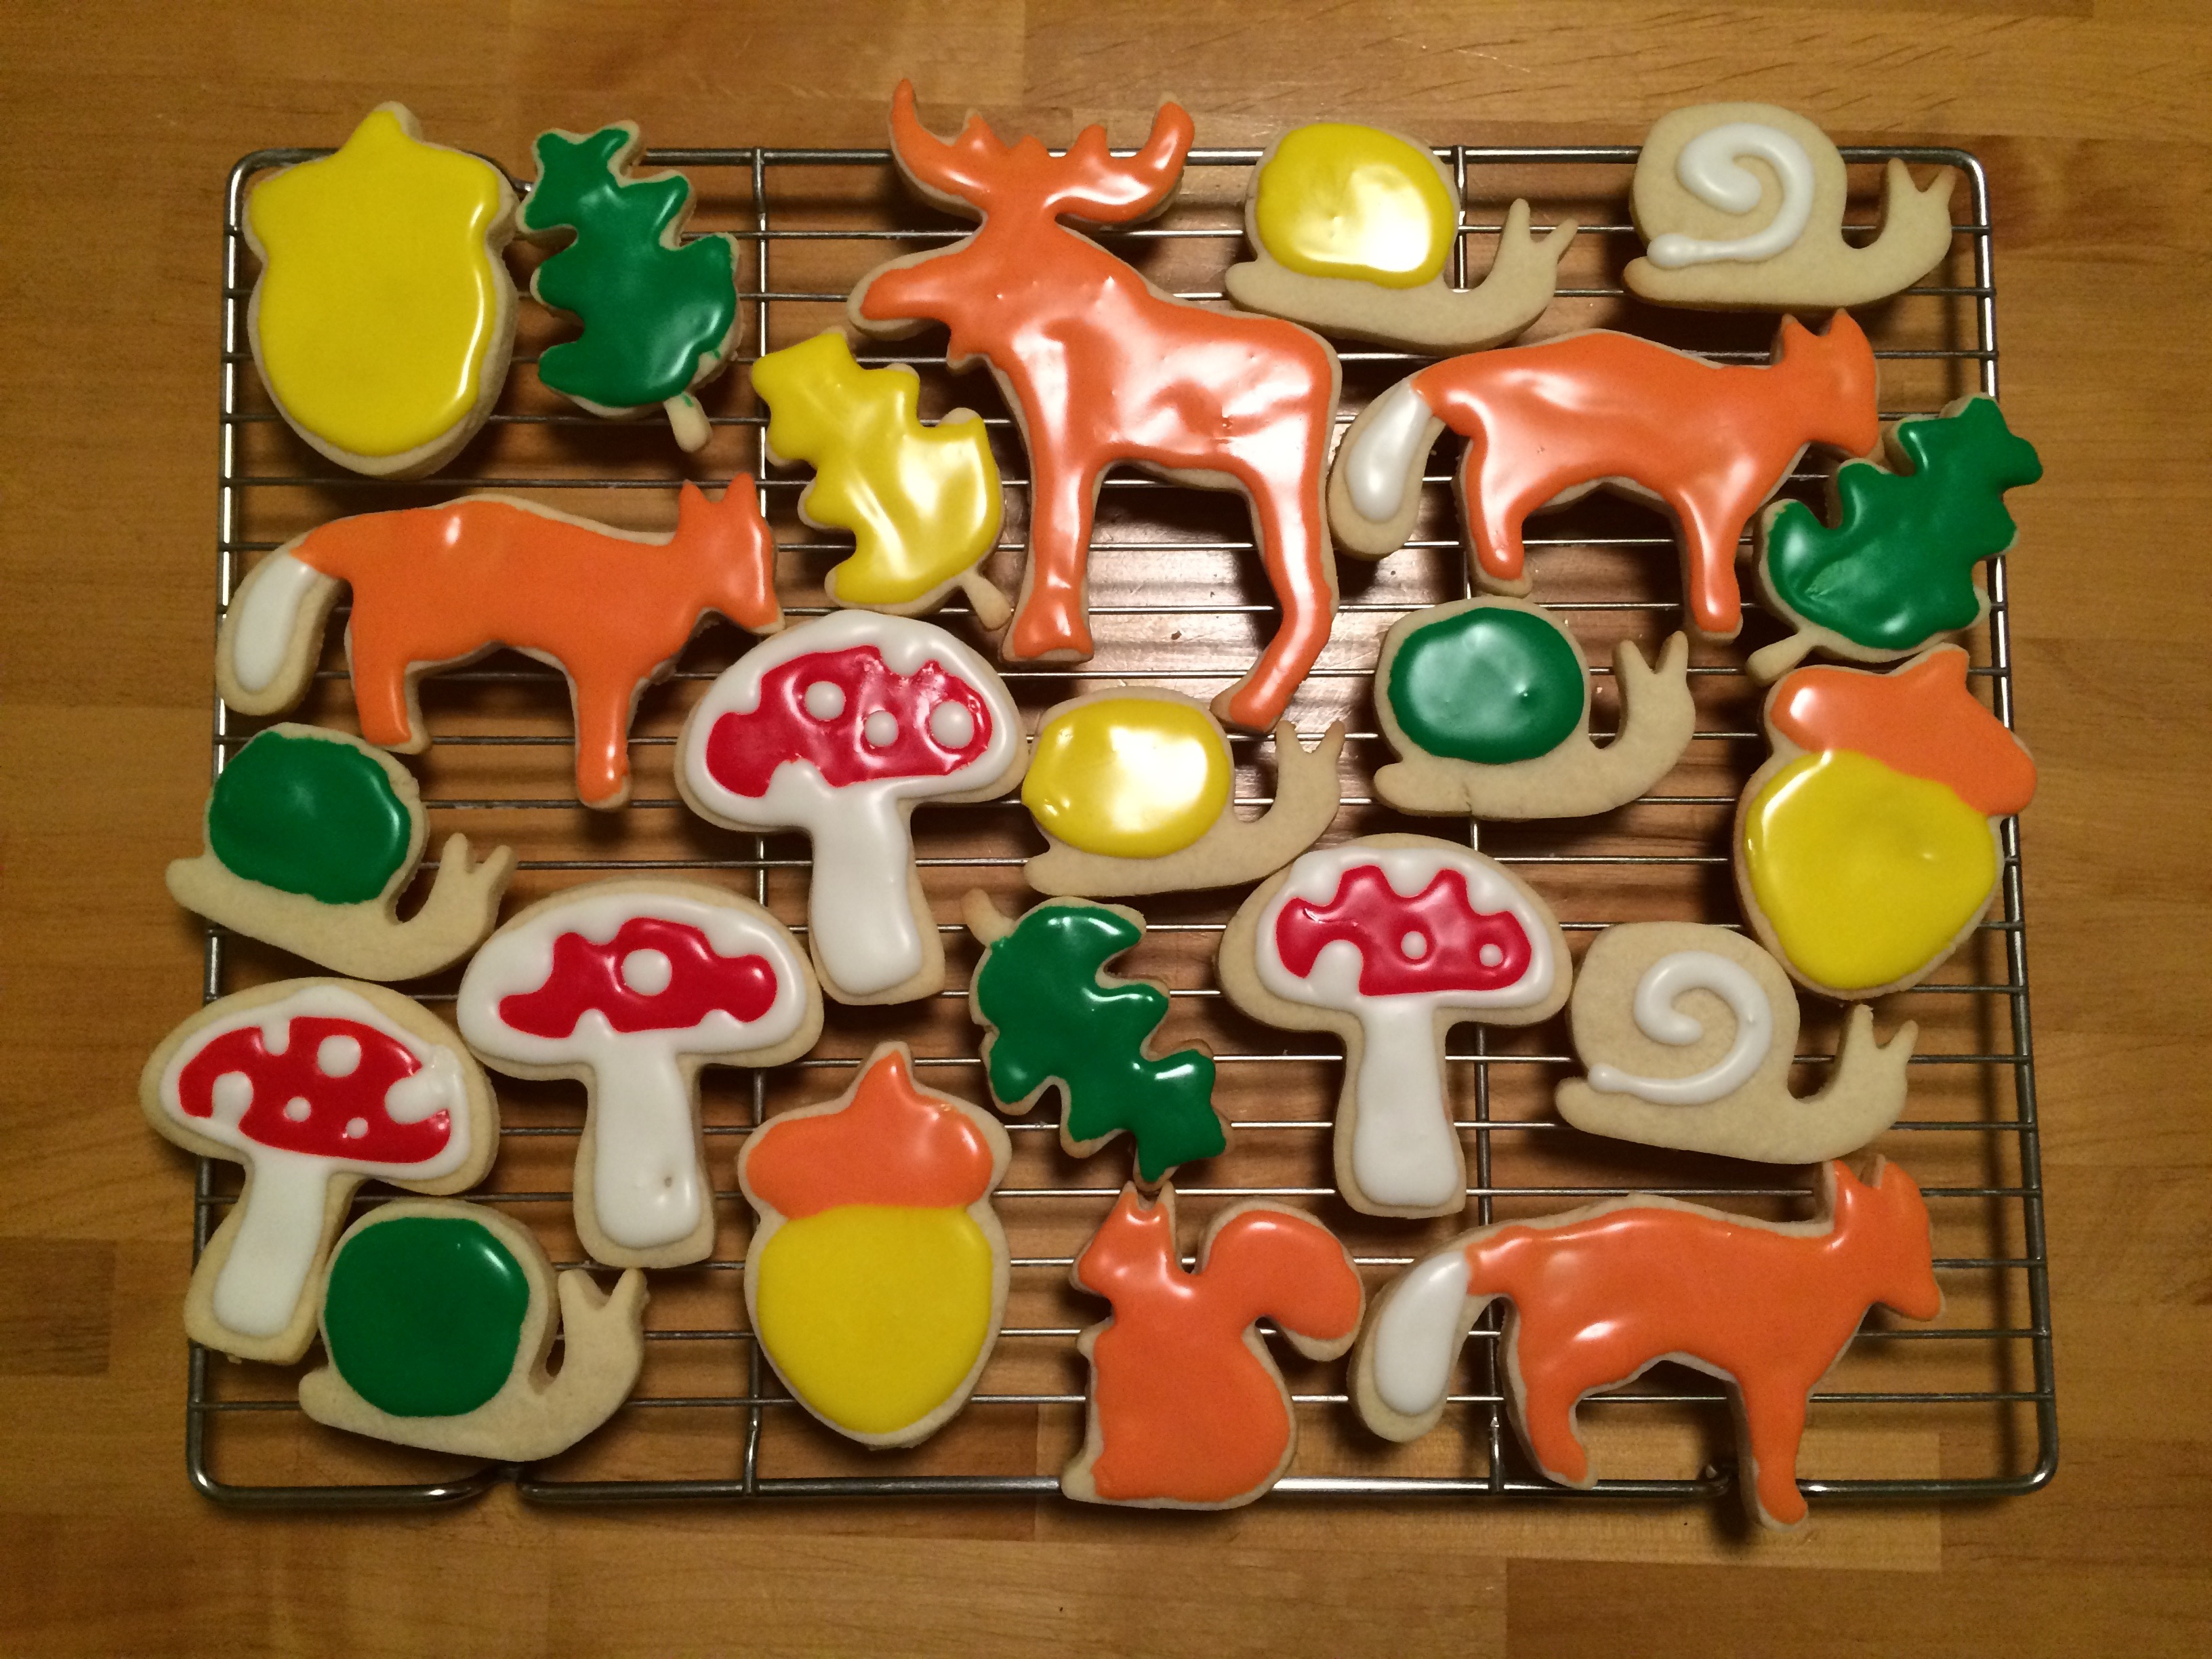
And voila! You have cute cookies that look almost professional. And of course, they taste delicious! For the rest of the cookies, I just used thicker icing and a spoon to carefully frost to the edges. For the fox, my sister had the cute idea of use the royal icing on the tail & fill the rest in with orange, and she also made the cute swirls on the snails.
It’s a little time consuming, but I find the process to be a great way to relieve stress. And you have something delicious to snack on throughout the week! I know it might seem like common sense to some, but there is a bit of a learning curve. I like to think I’m making the world a better place, one cute sugar cookie at a time.
What’s your favorite way to decorate cookies? Leave any tips & tricks in the comments!
XOXO
![]()


