


Hello friends!
Today’s post is all about how to make a DIY Blog Planner. If you love planners as much as I do, you might find yourself in the situation of having more than one in your possession for the year… Or is that just me? Although I’ve definitely drooled over legitimate blog planners on Etsy, I find that the blogging process is very personal, and I wanted to make my own system that works for me.
(Also, please ignore the poor quality of these photos. Lighting in the PNW can be a bit tricky this time of year! With that being said, click on any of the images below for a closer, zoom-able view.)
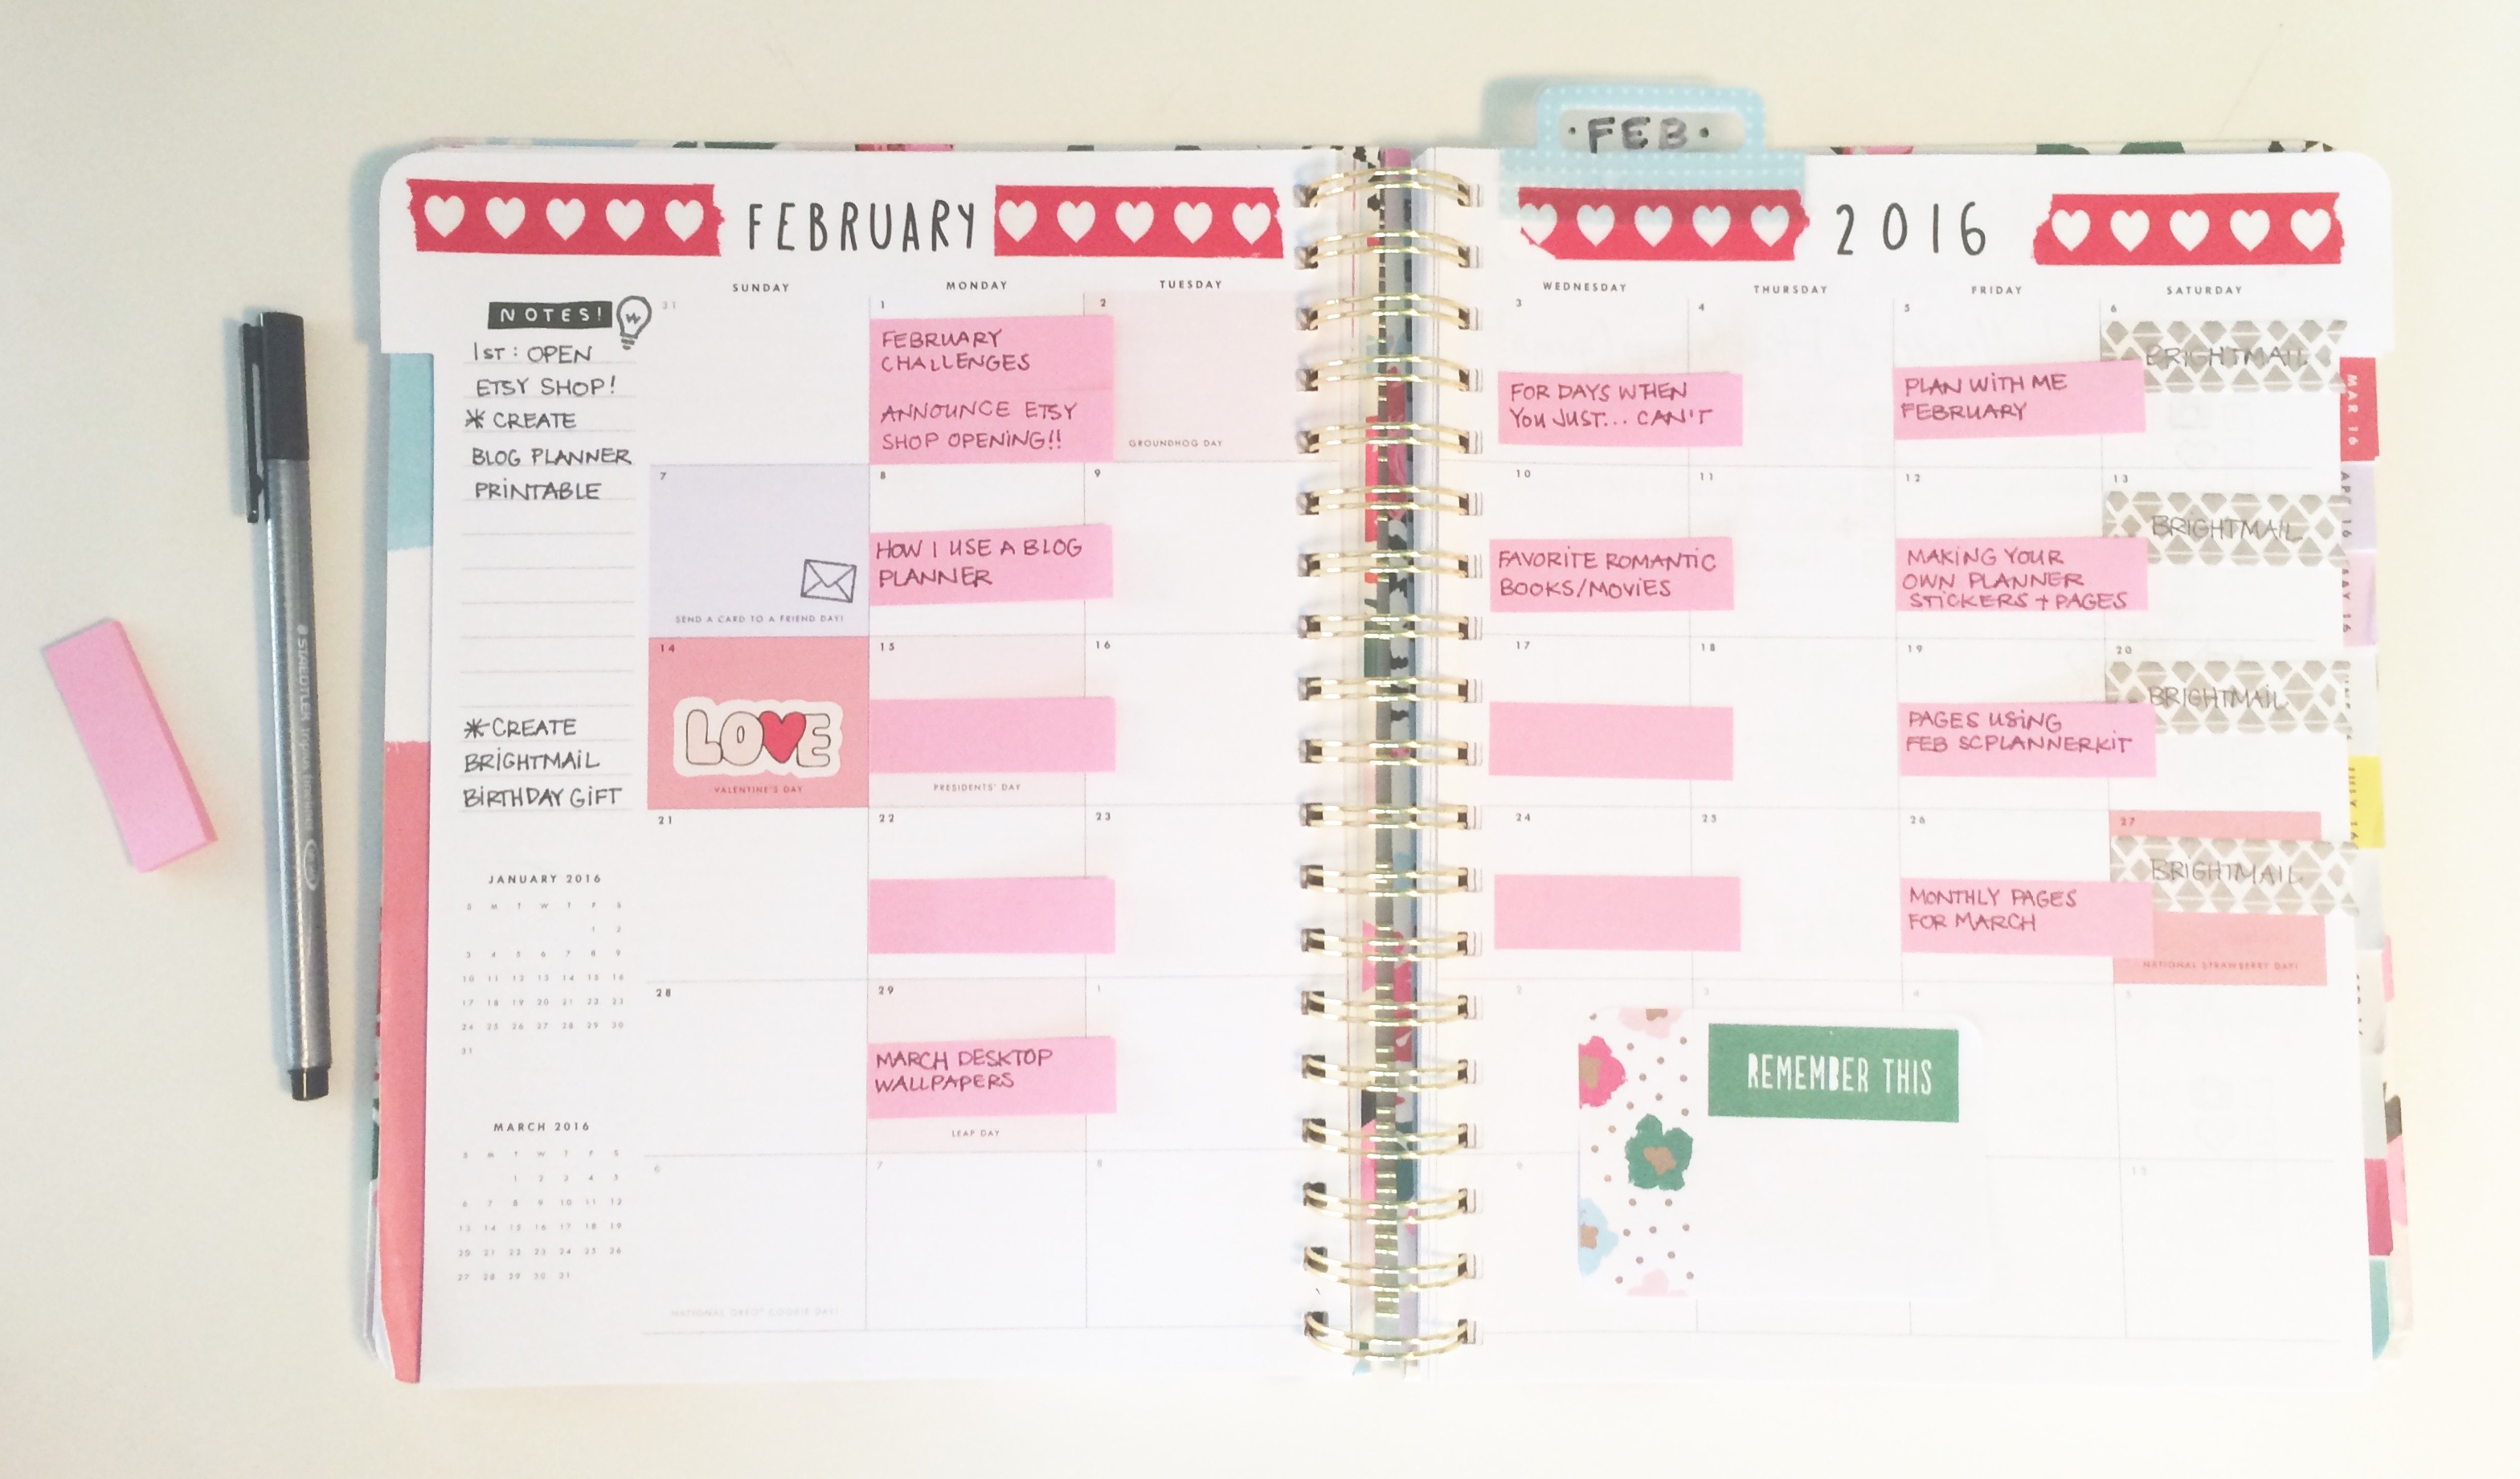
On the monthly pages, I create an editorial calendar for the month. I use sticky-note tabs to write down my post ideas, so that I can switch them around (and even from month-to-month) if needed. I also mark down important notes, the dates my newsletter goes out, and holidays so that I’m always on top of my blog calendar.
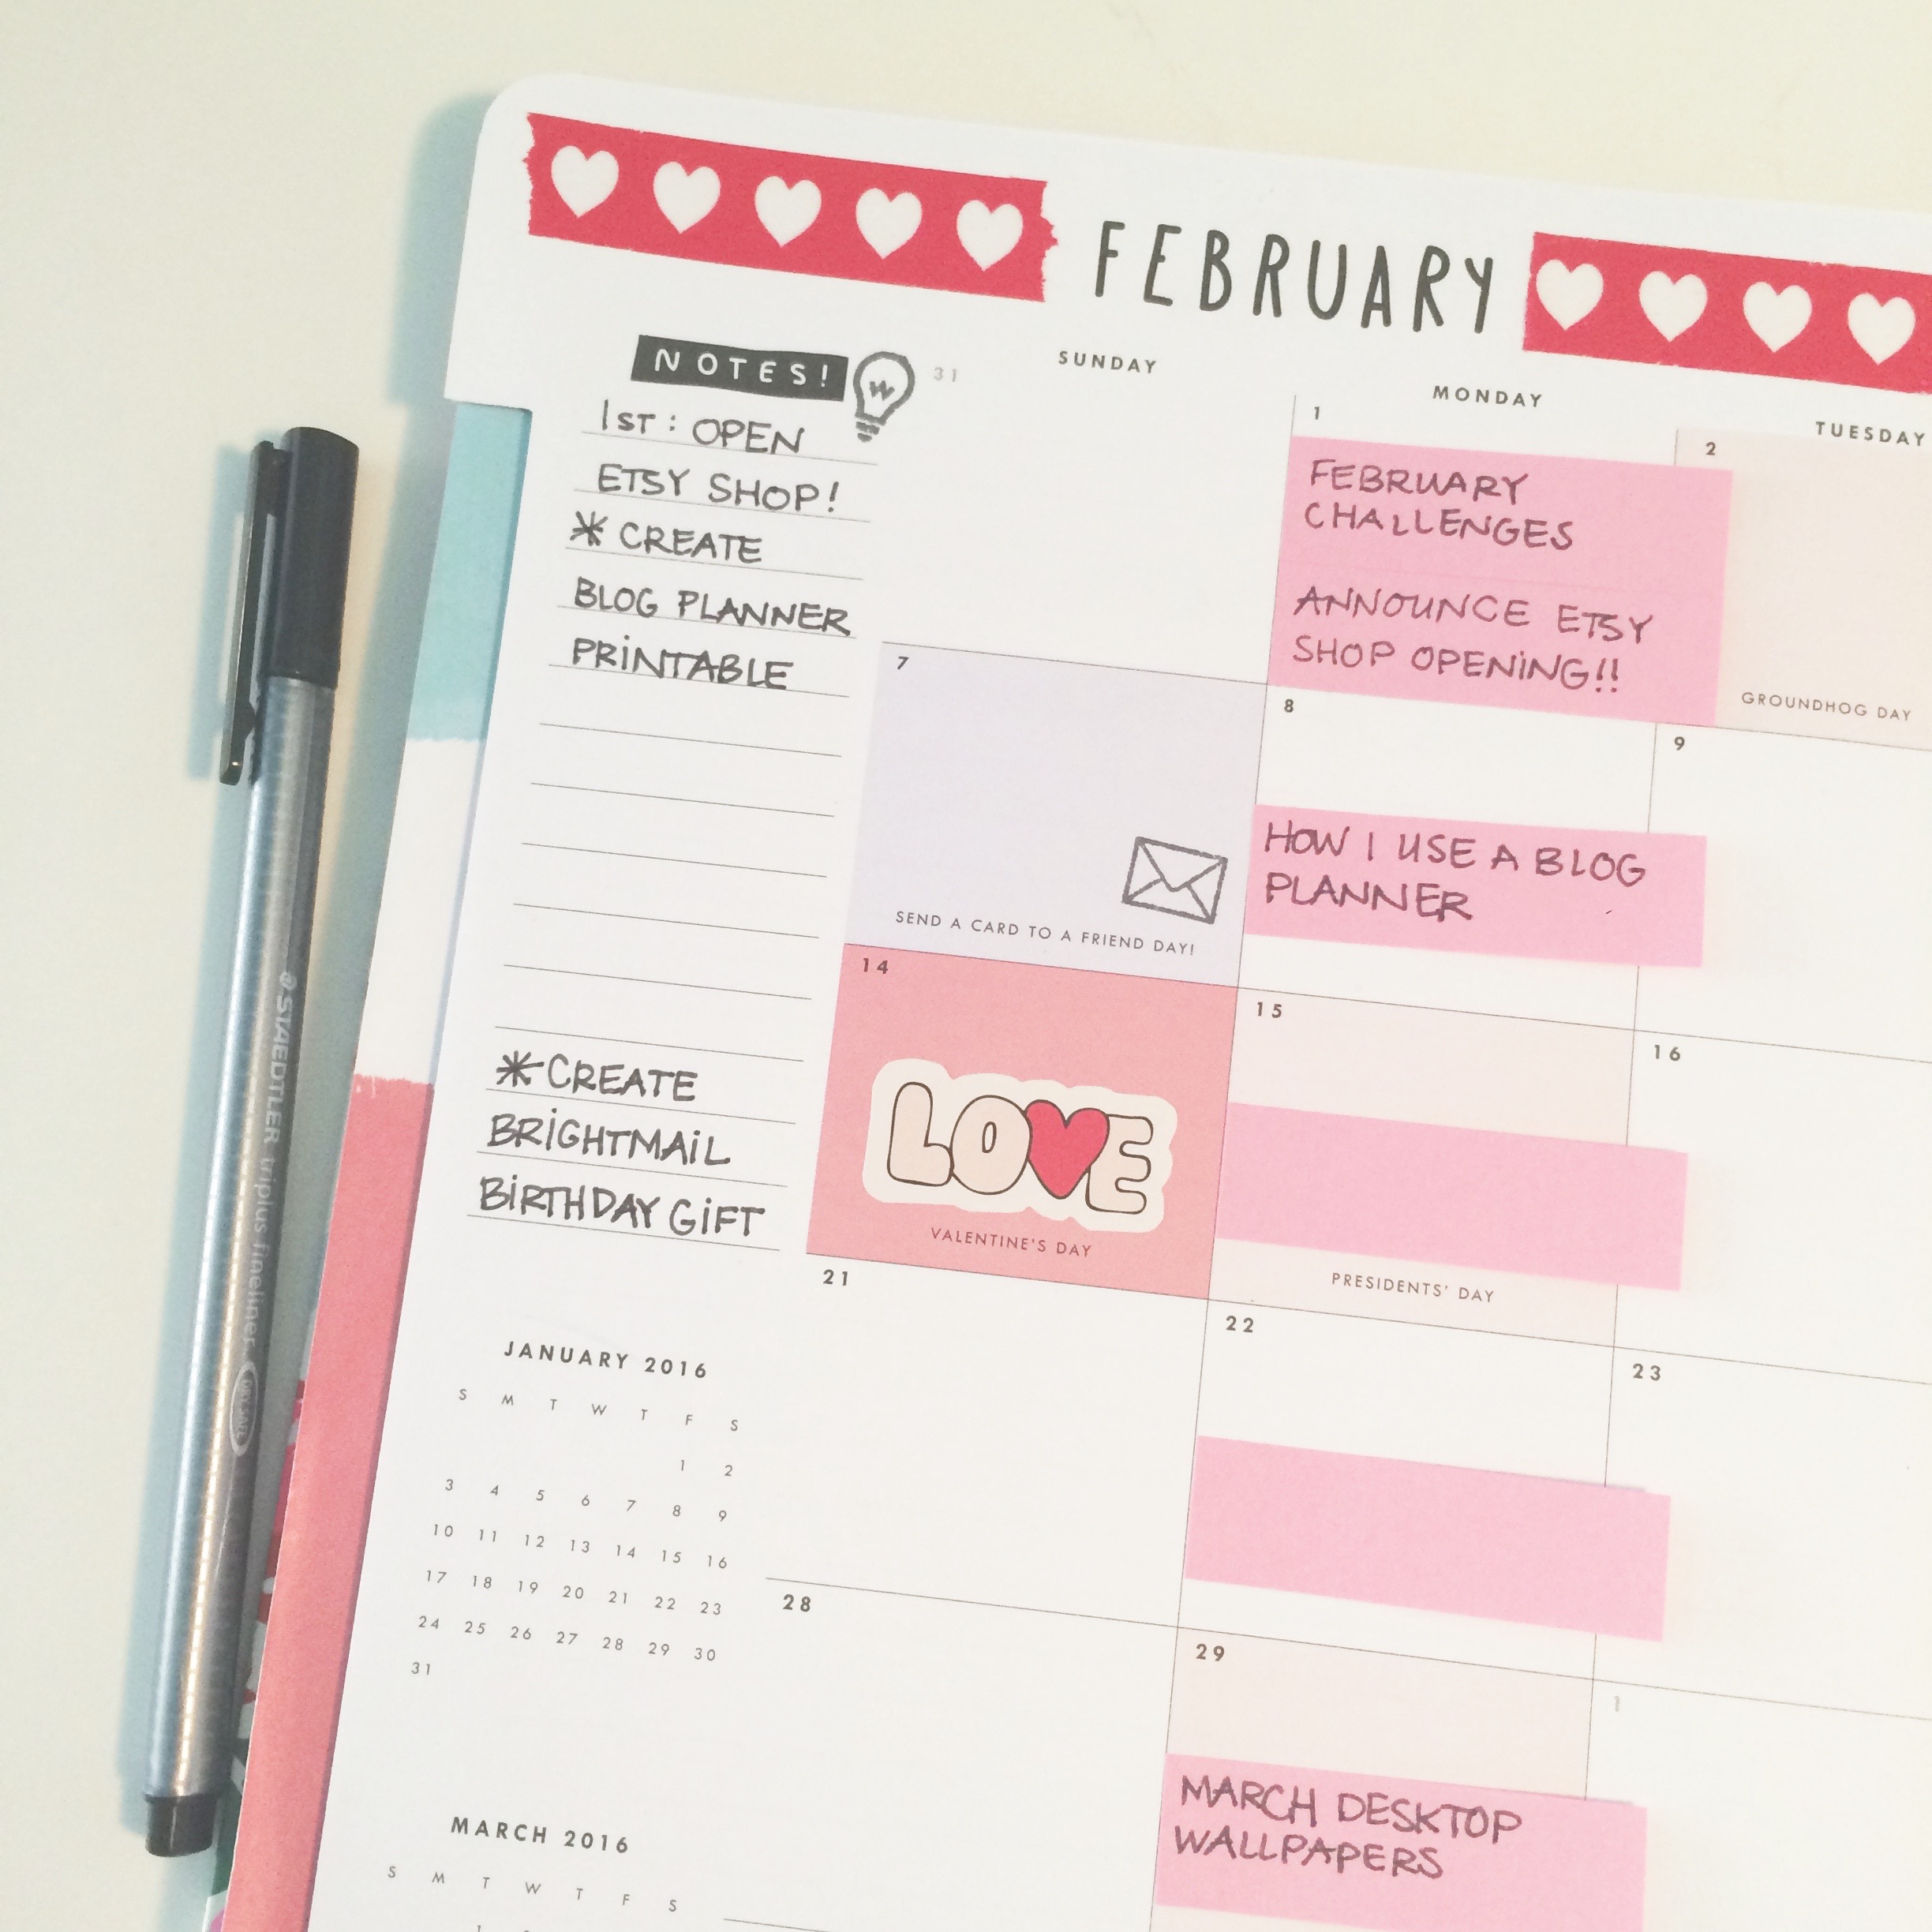
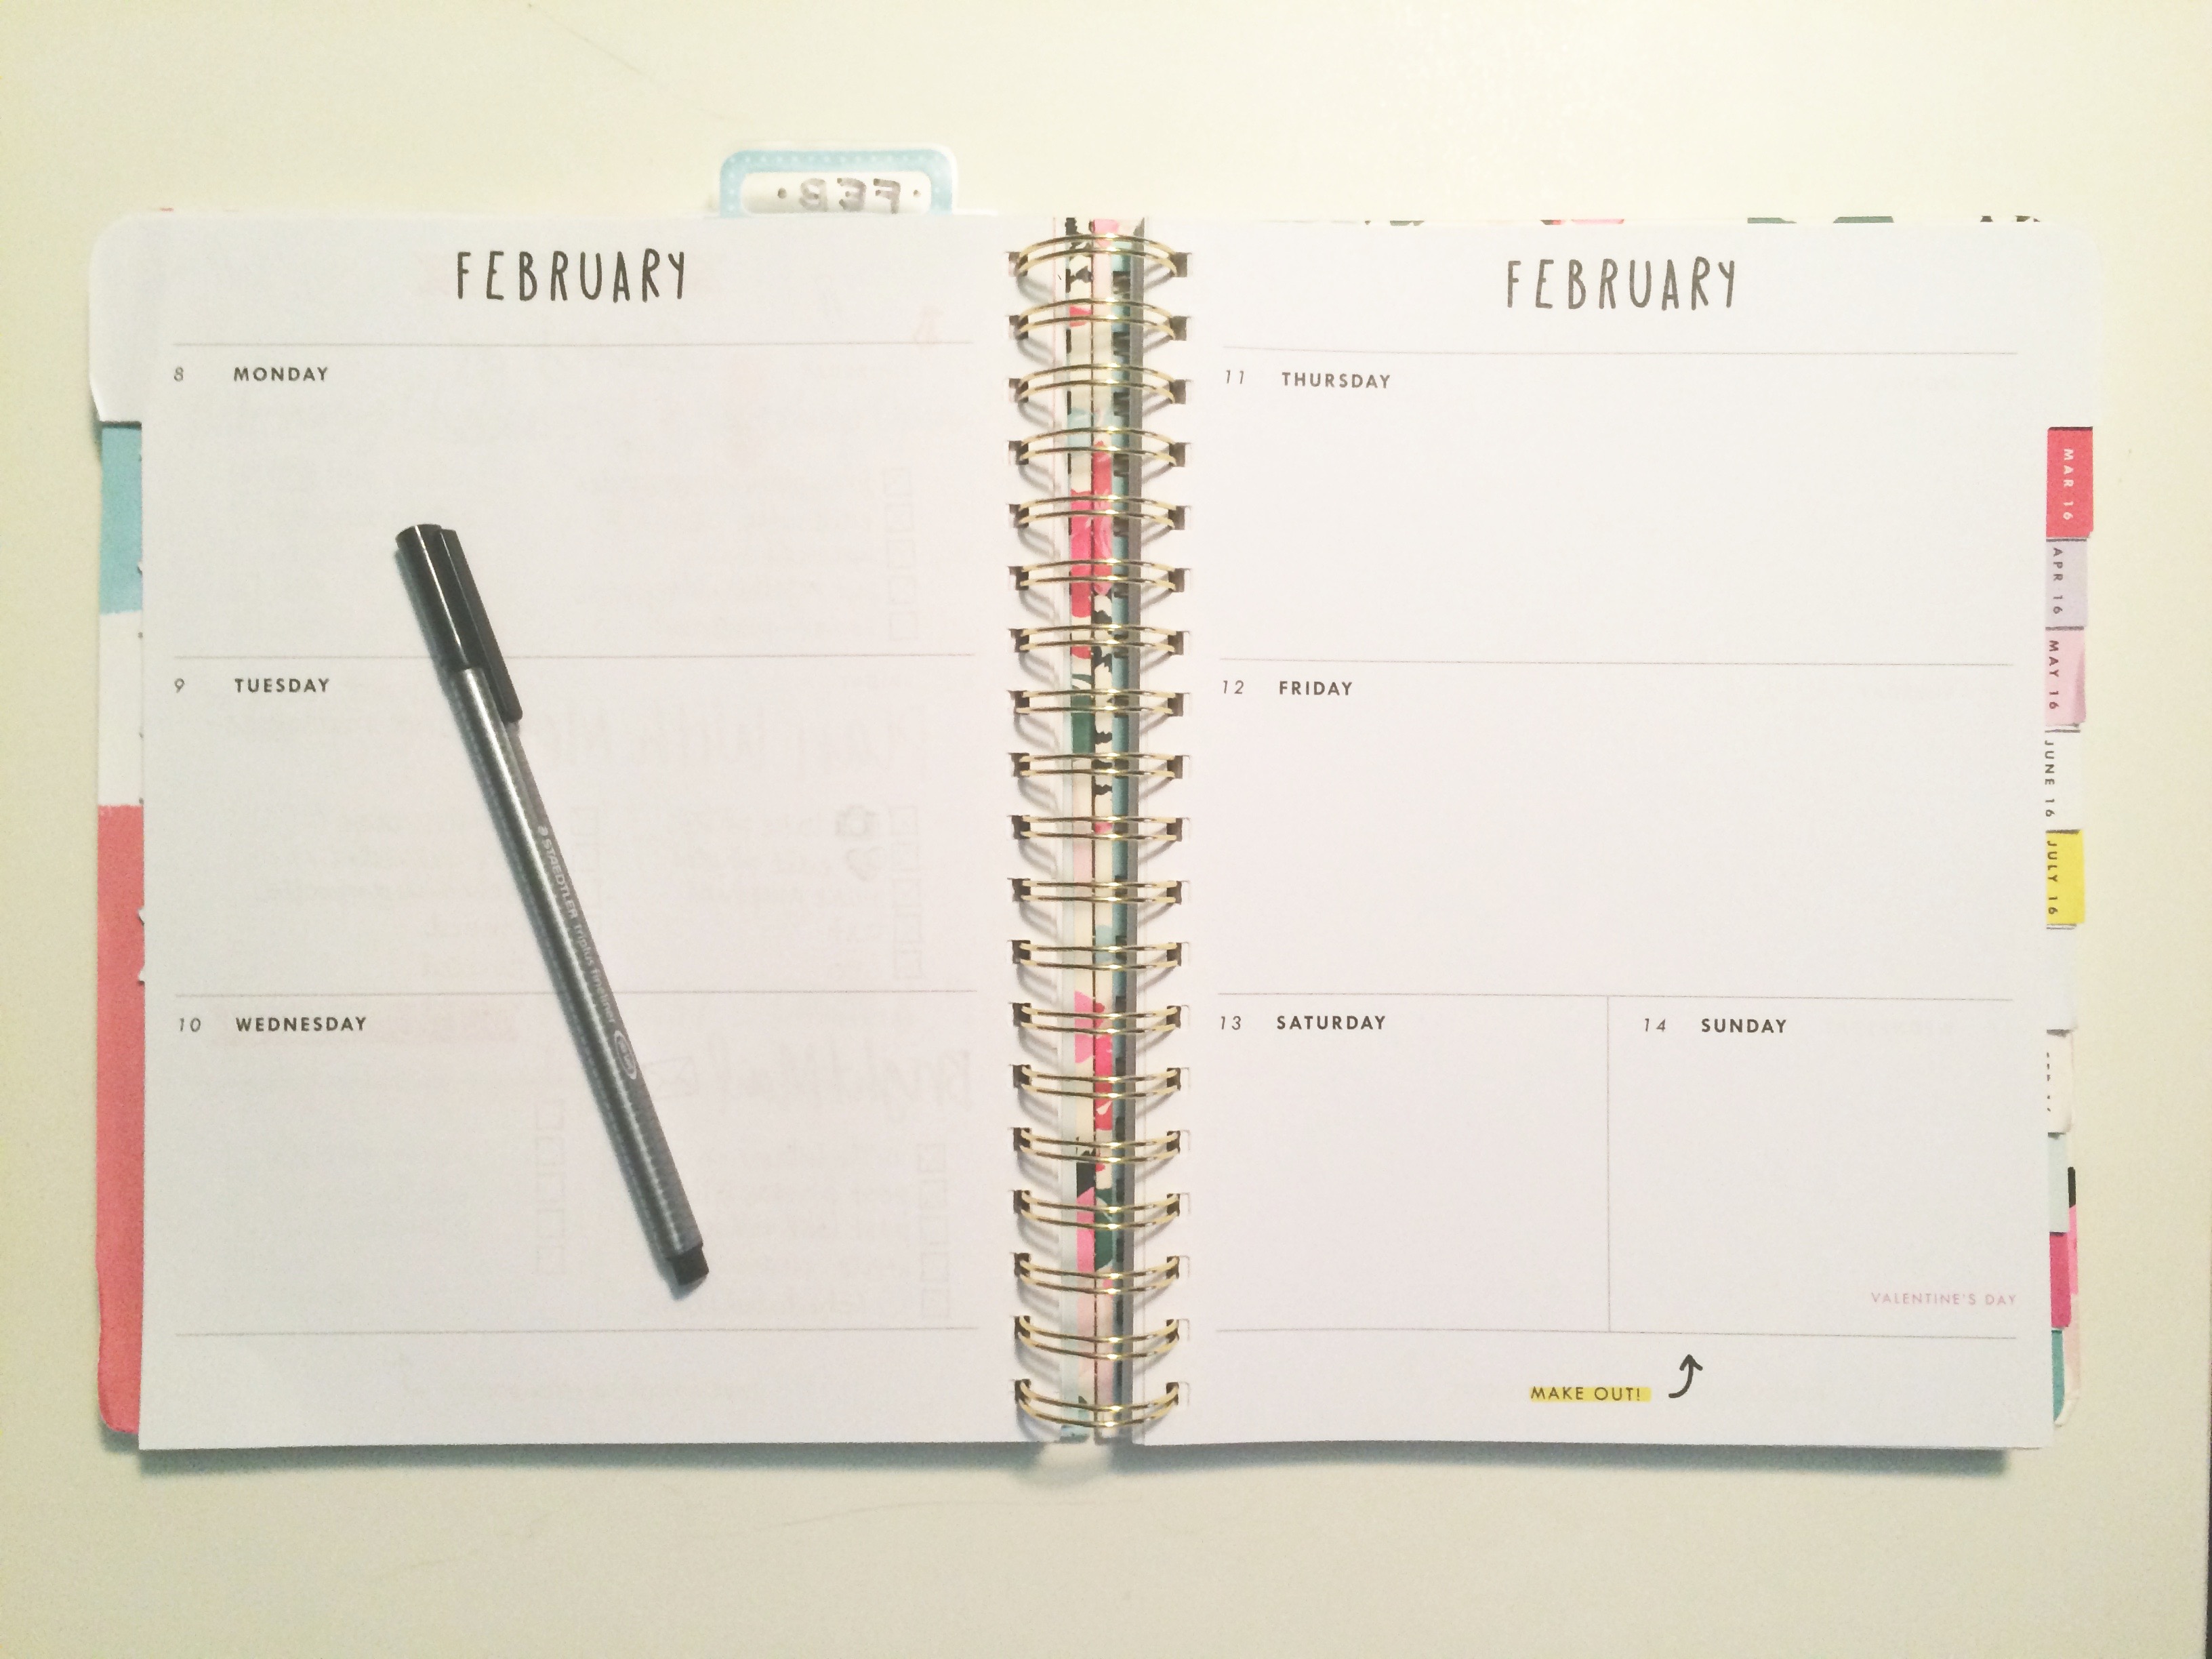
As you can see, I leave some days blank and plan as I go.
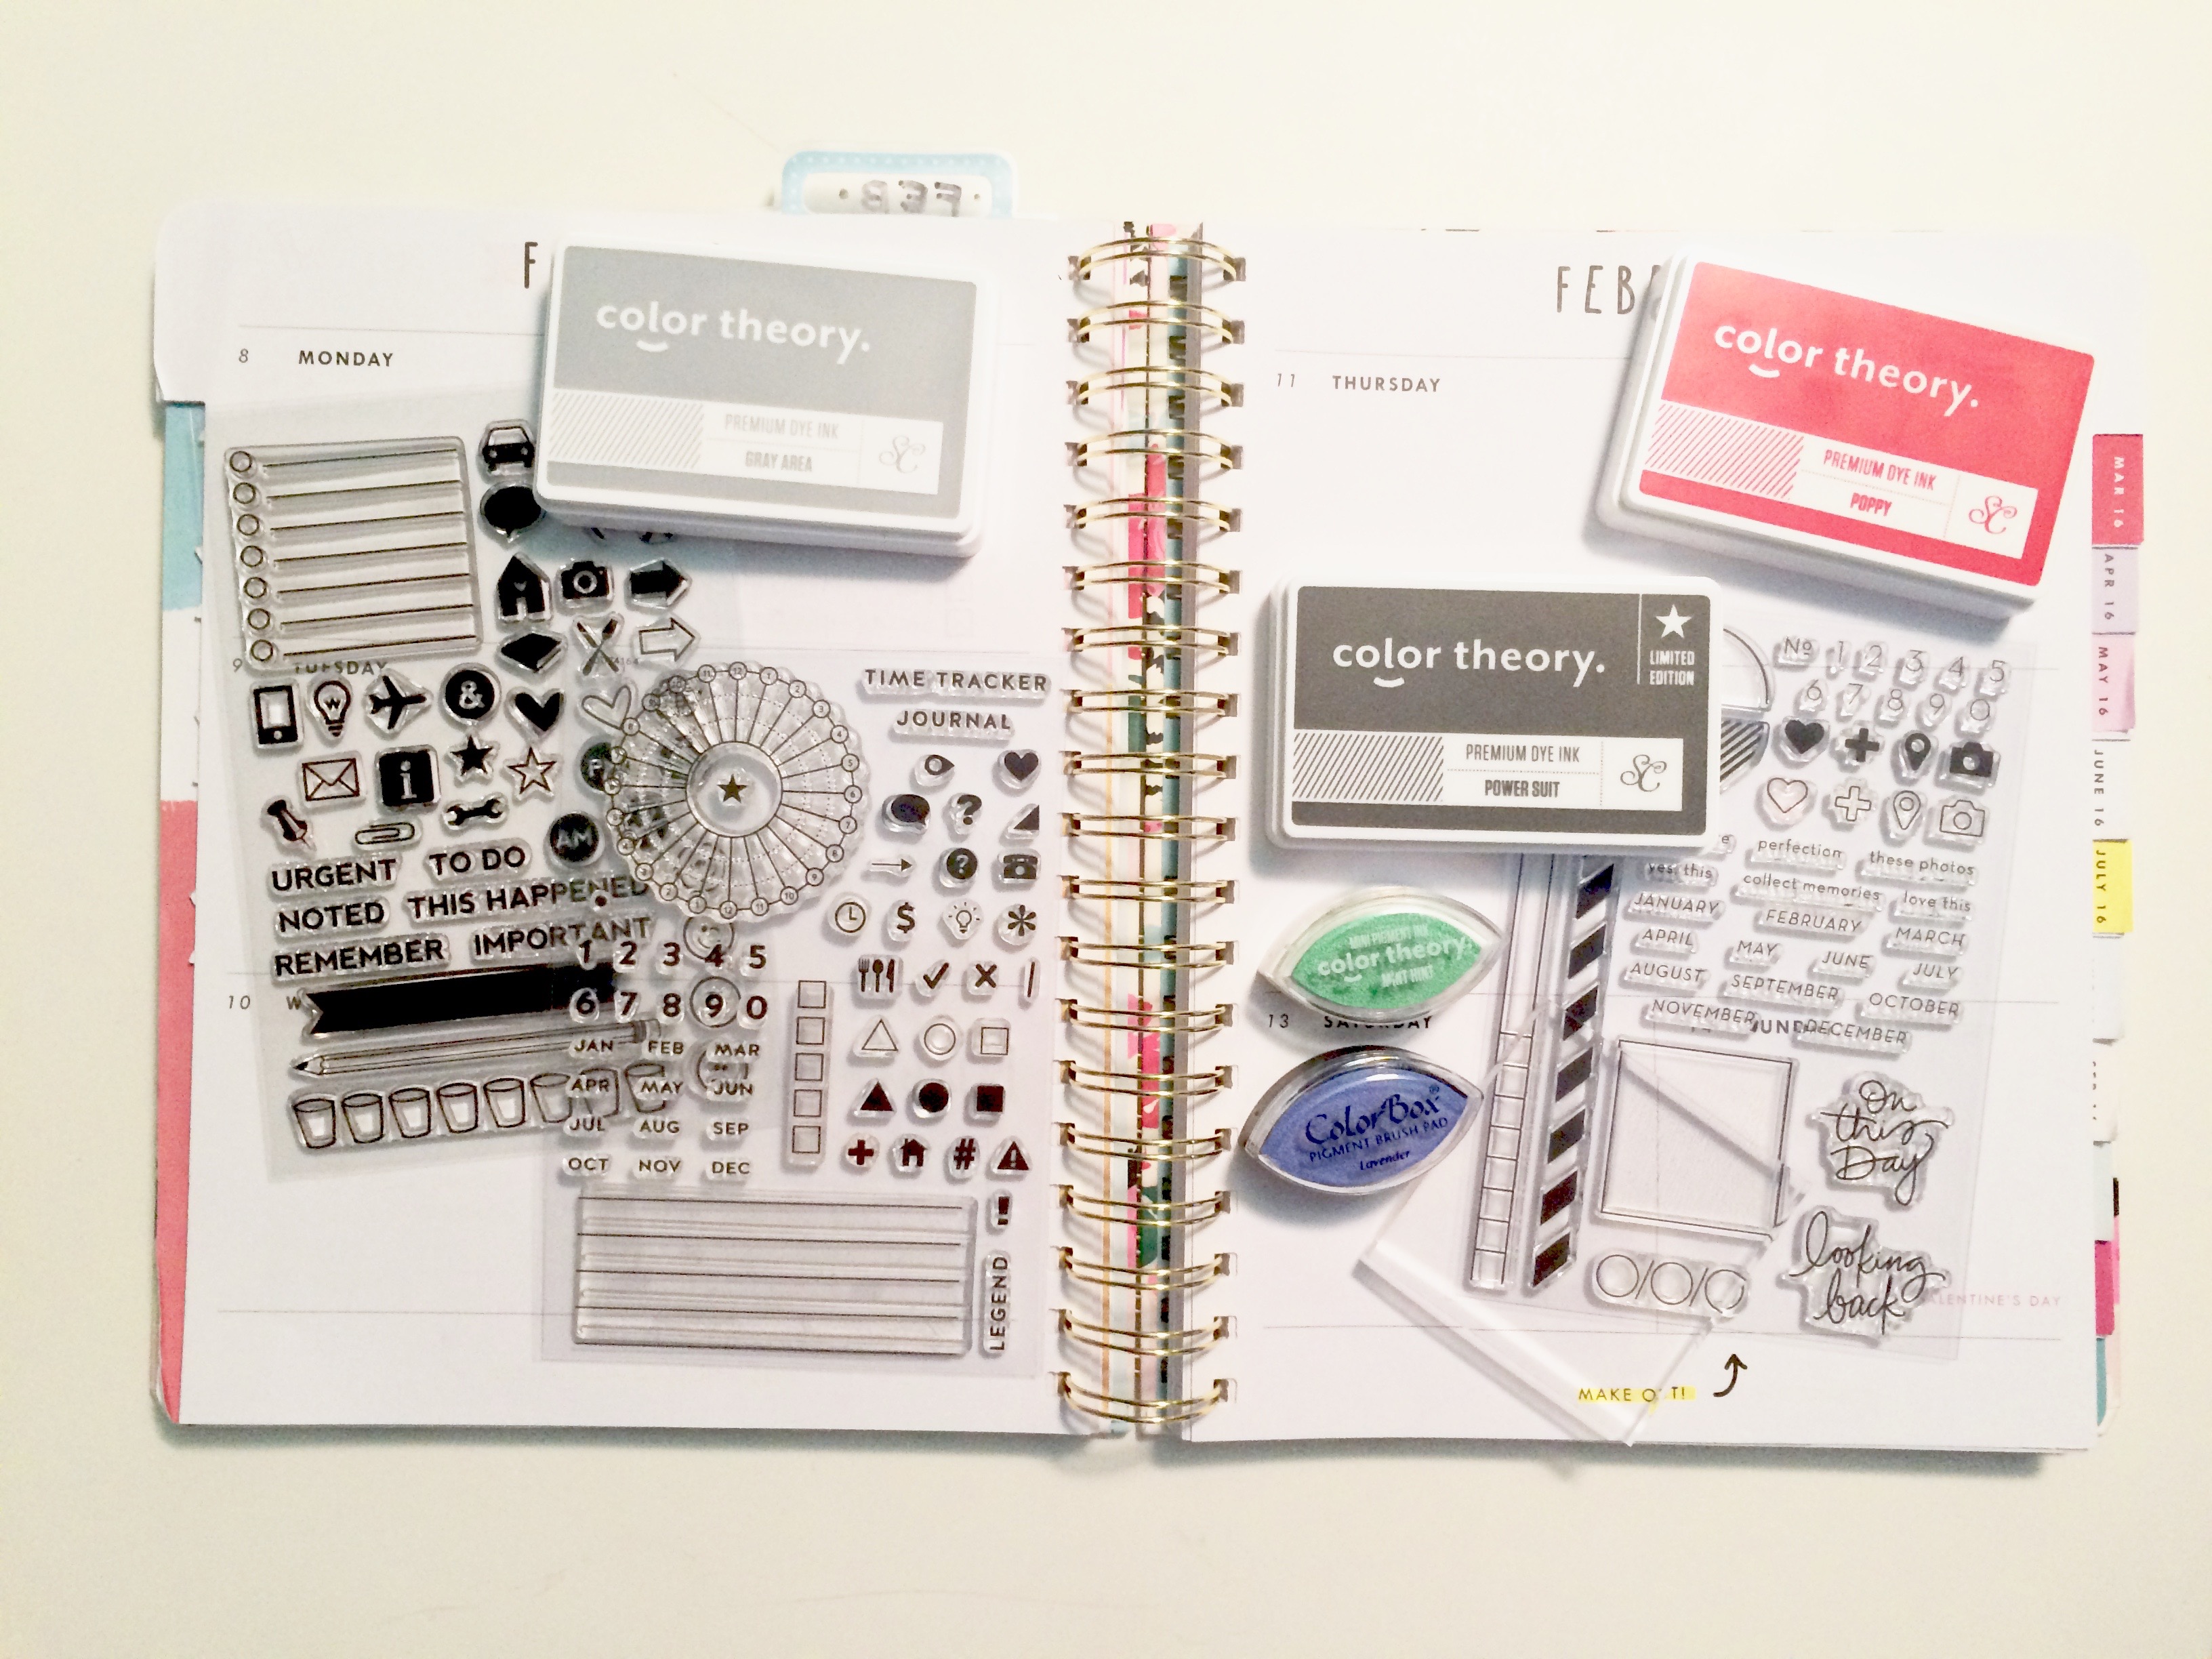
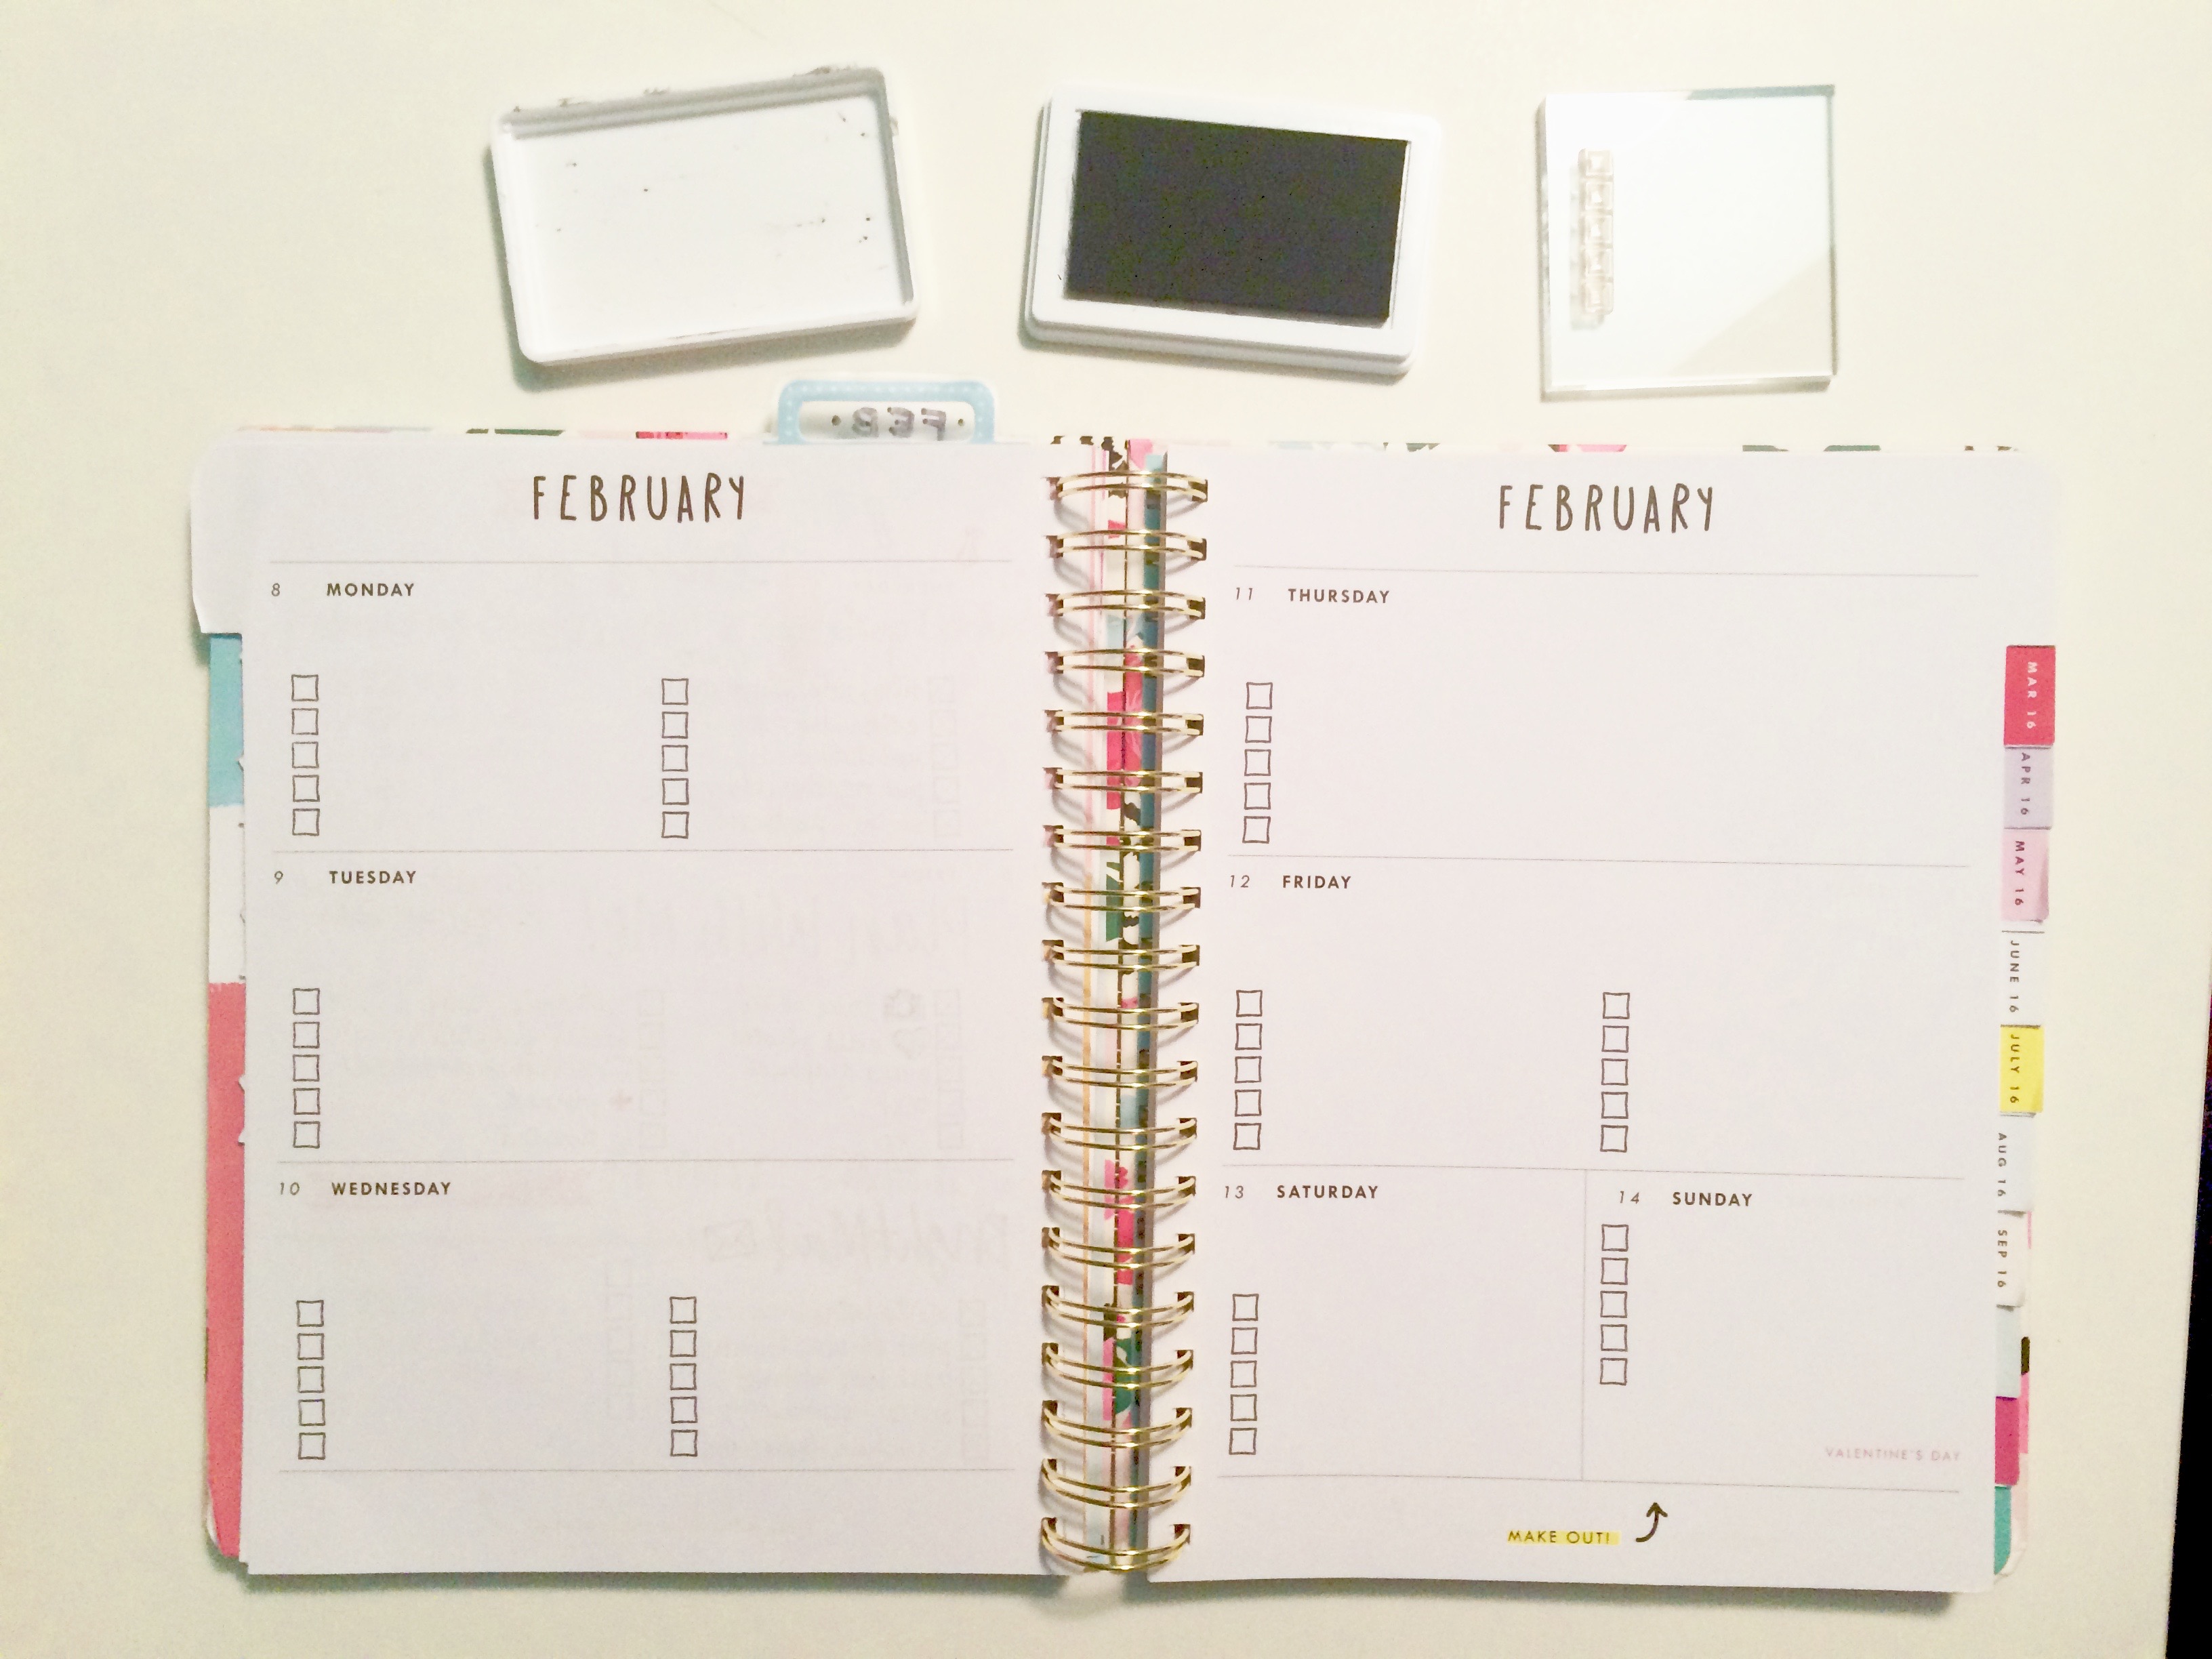
For the most part, I use the same handful of stamps:
- checkboxes (I love the set of five!)
- cameras
- hearts
- plus-signs
- geo-pins (or whatever they’re called!)
- clock
- hashtag
- envelope
With a variety of stamp pads, just a few stamps can go a long way.
I start with the checkboxes, using a set of five. I stamp twice on each day that I have a blog post scheduled to publish, and once on the rest of the days.
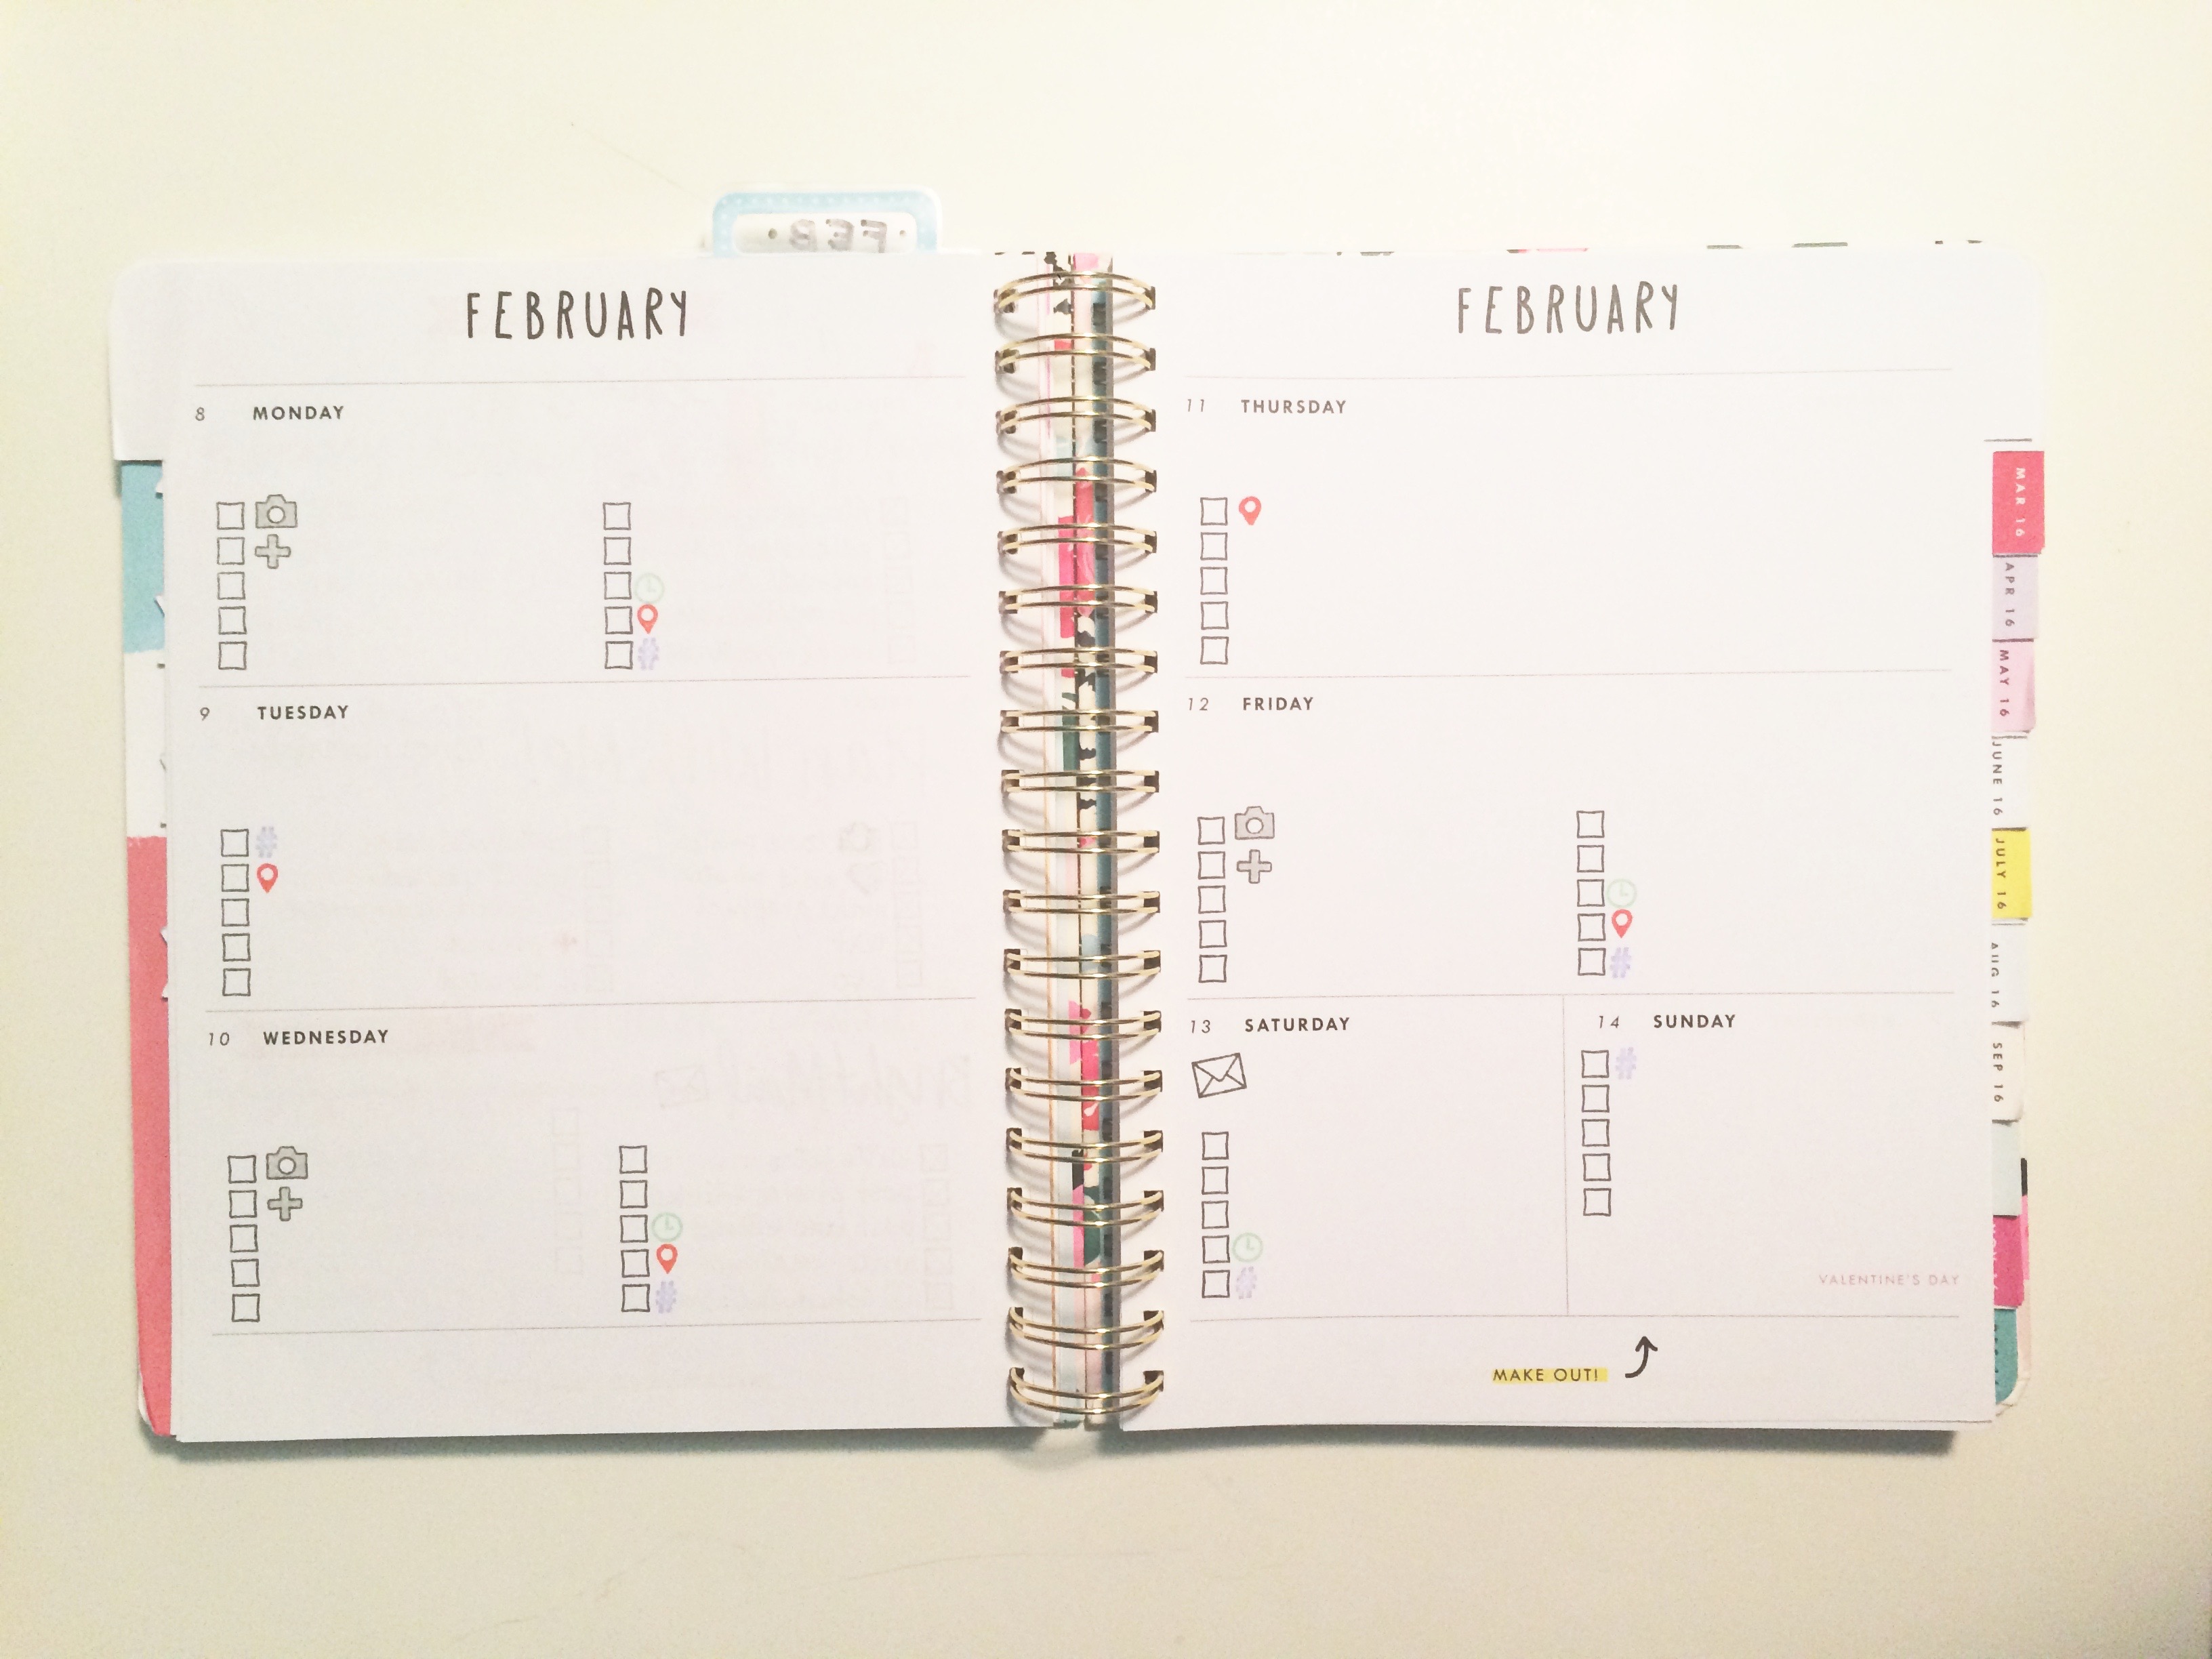
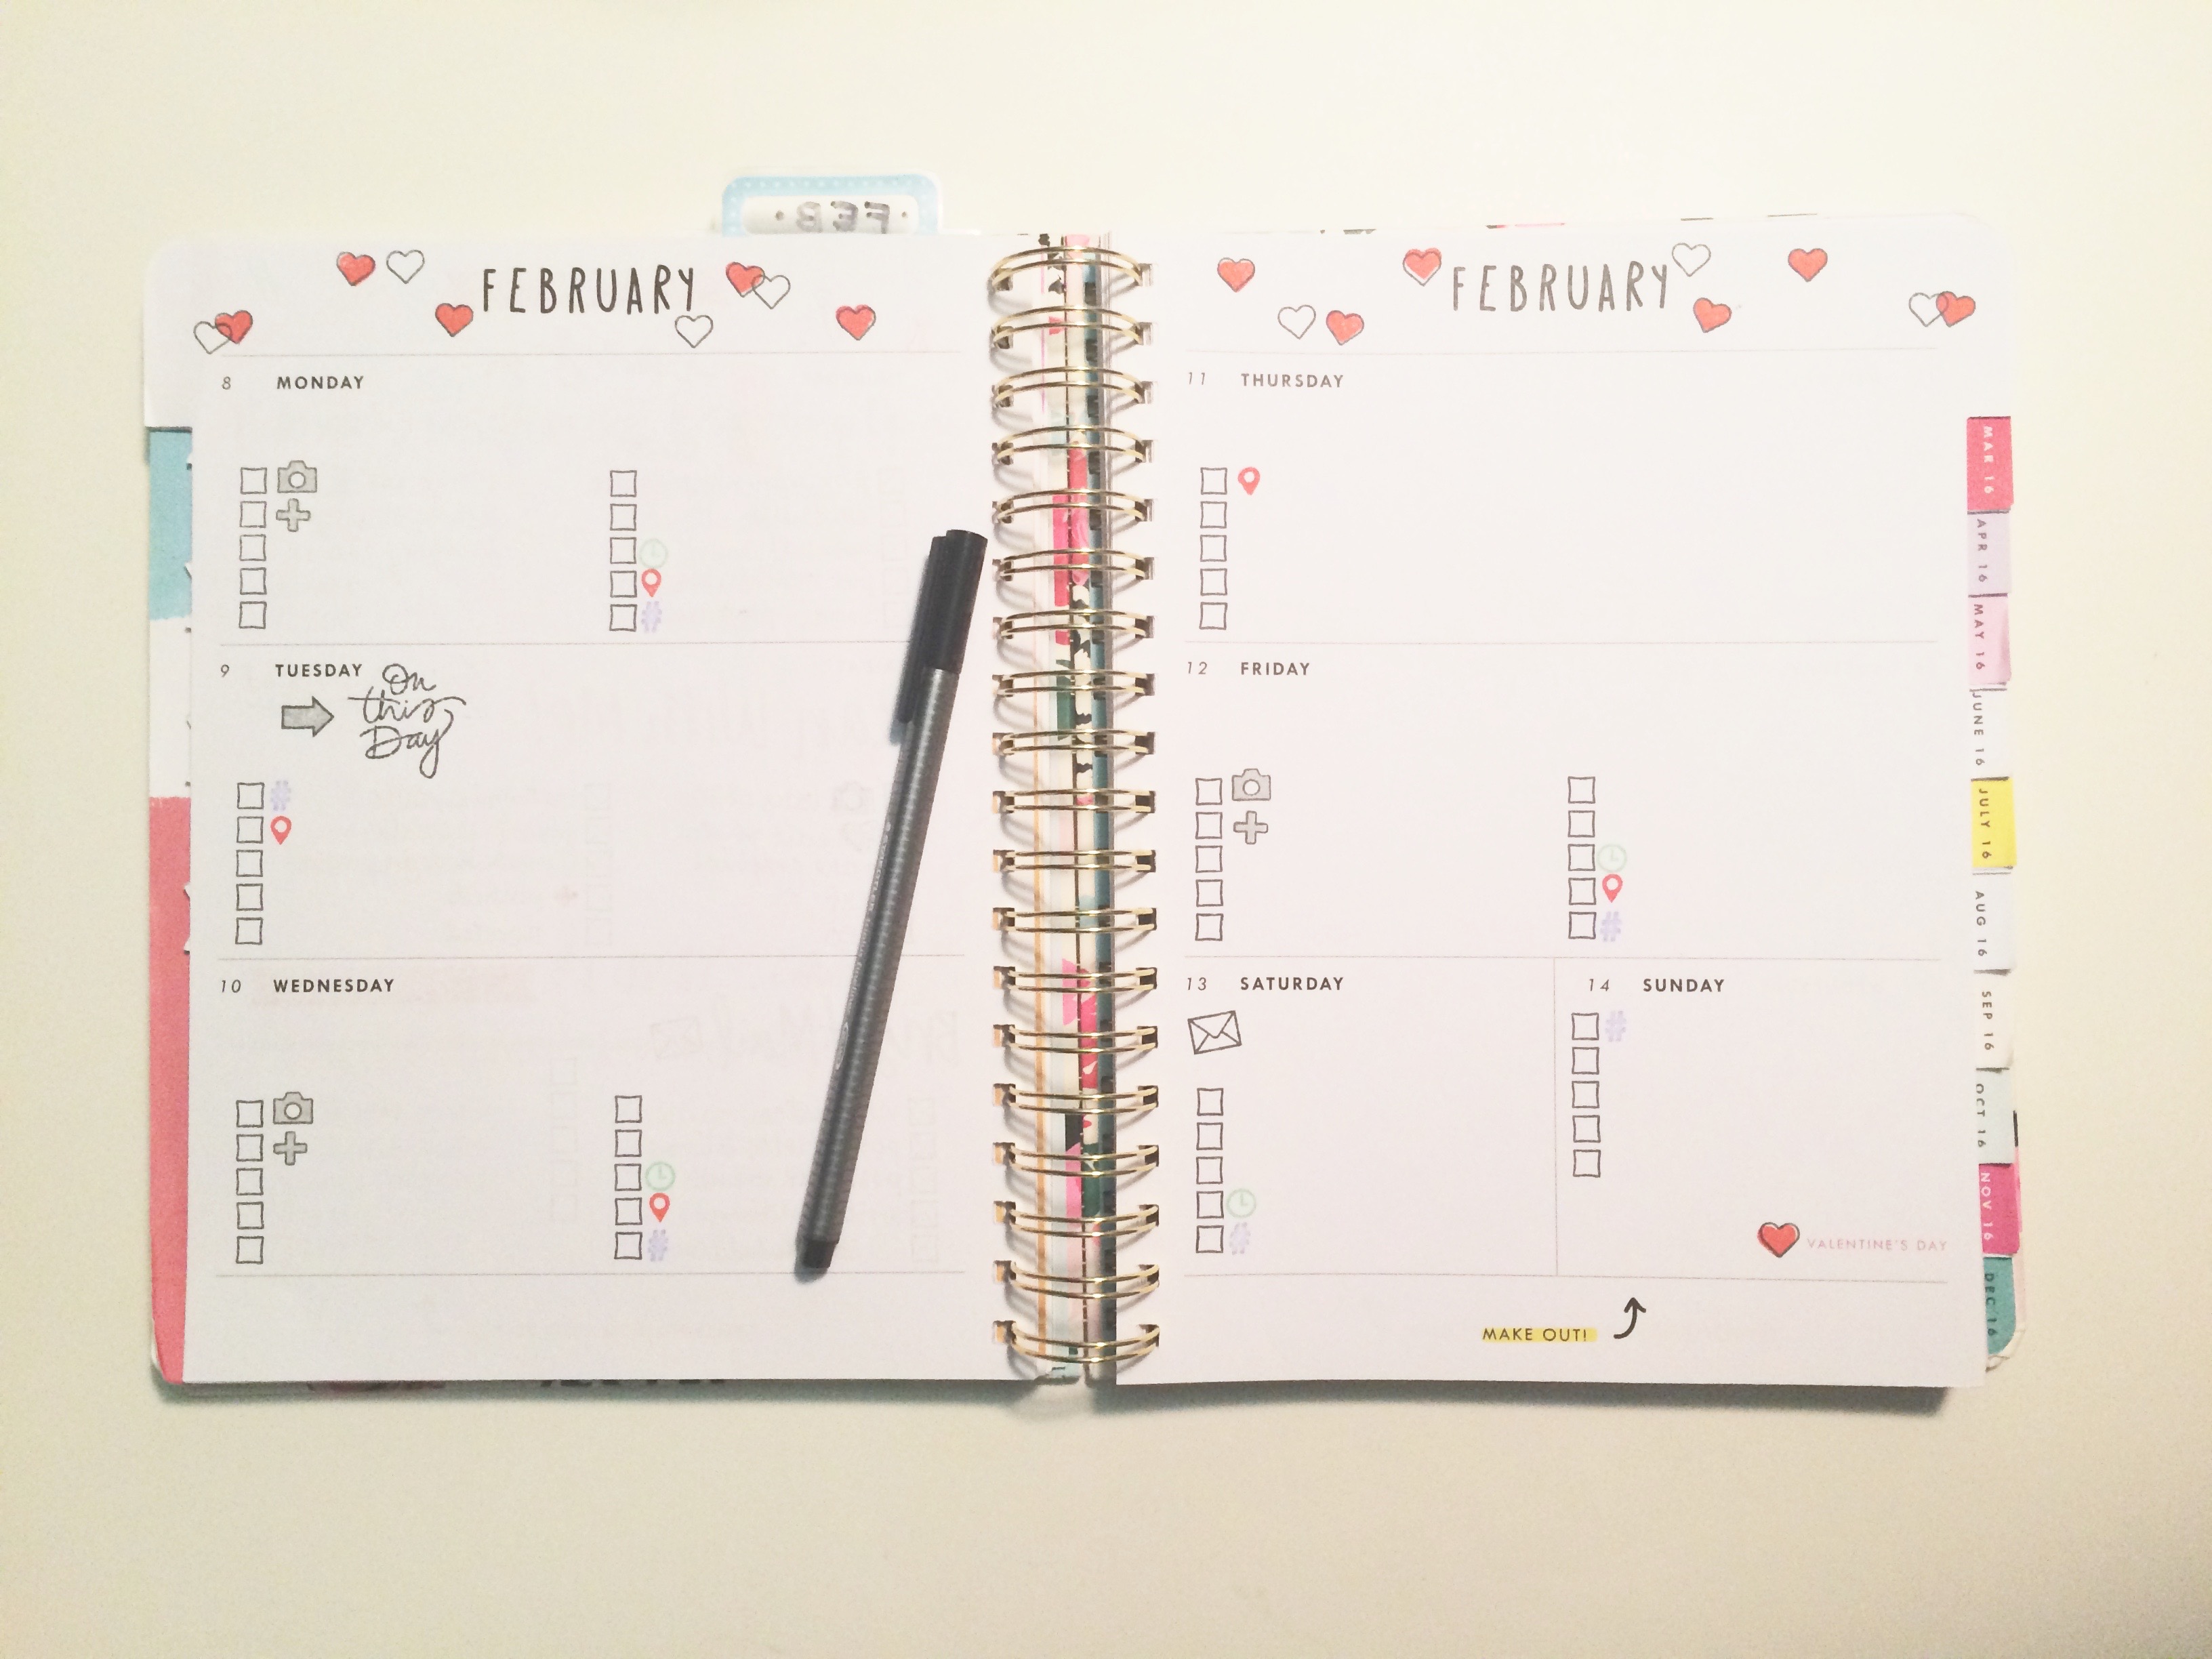
And, of course, I add a little bit of decoration at the top of the page and in empty spaces.
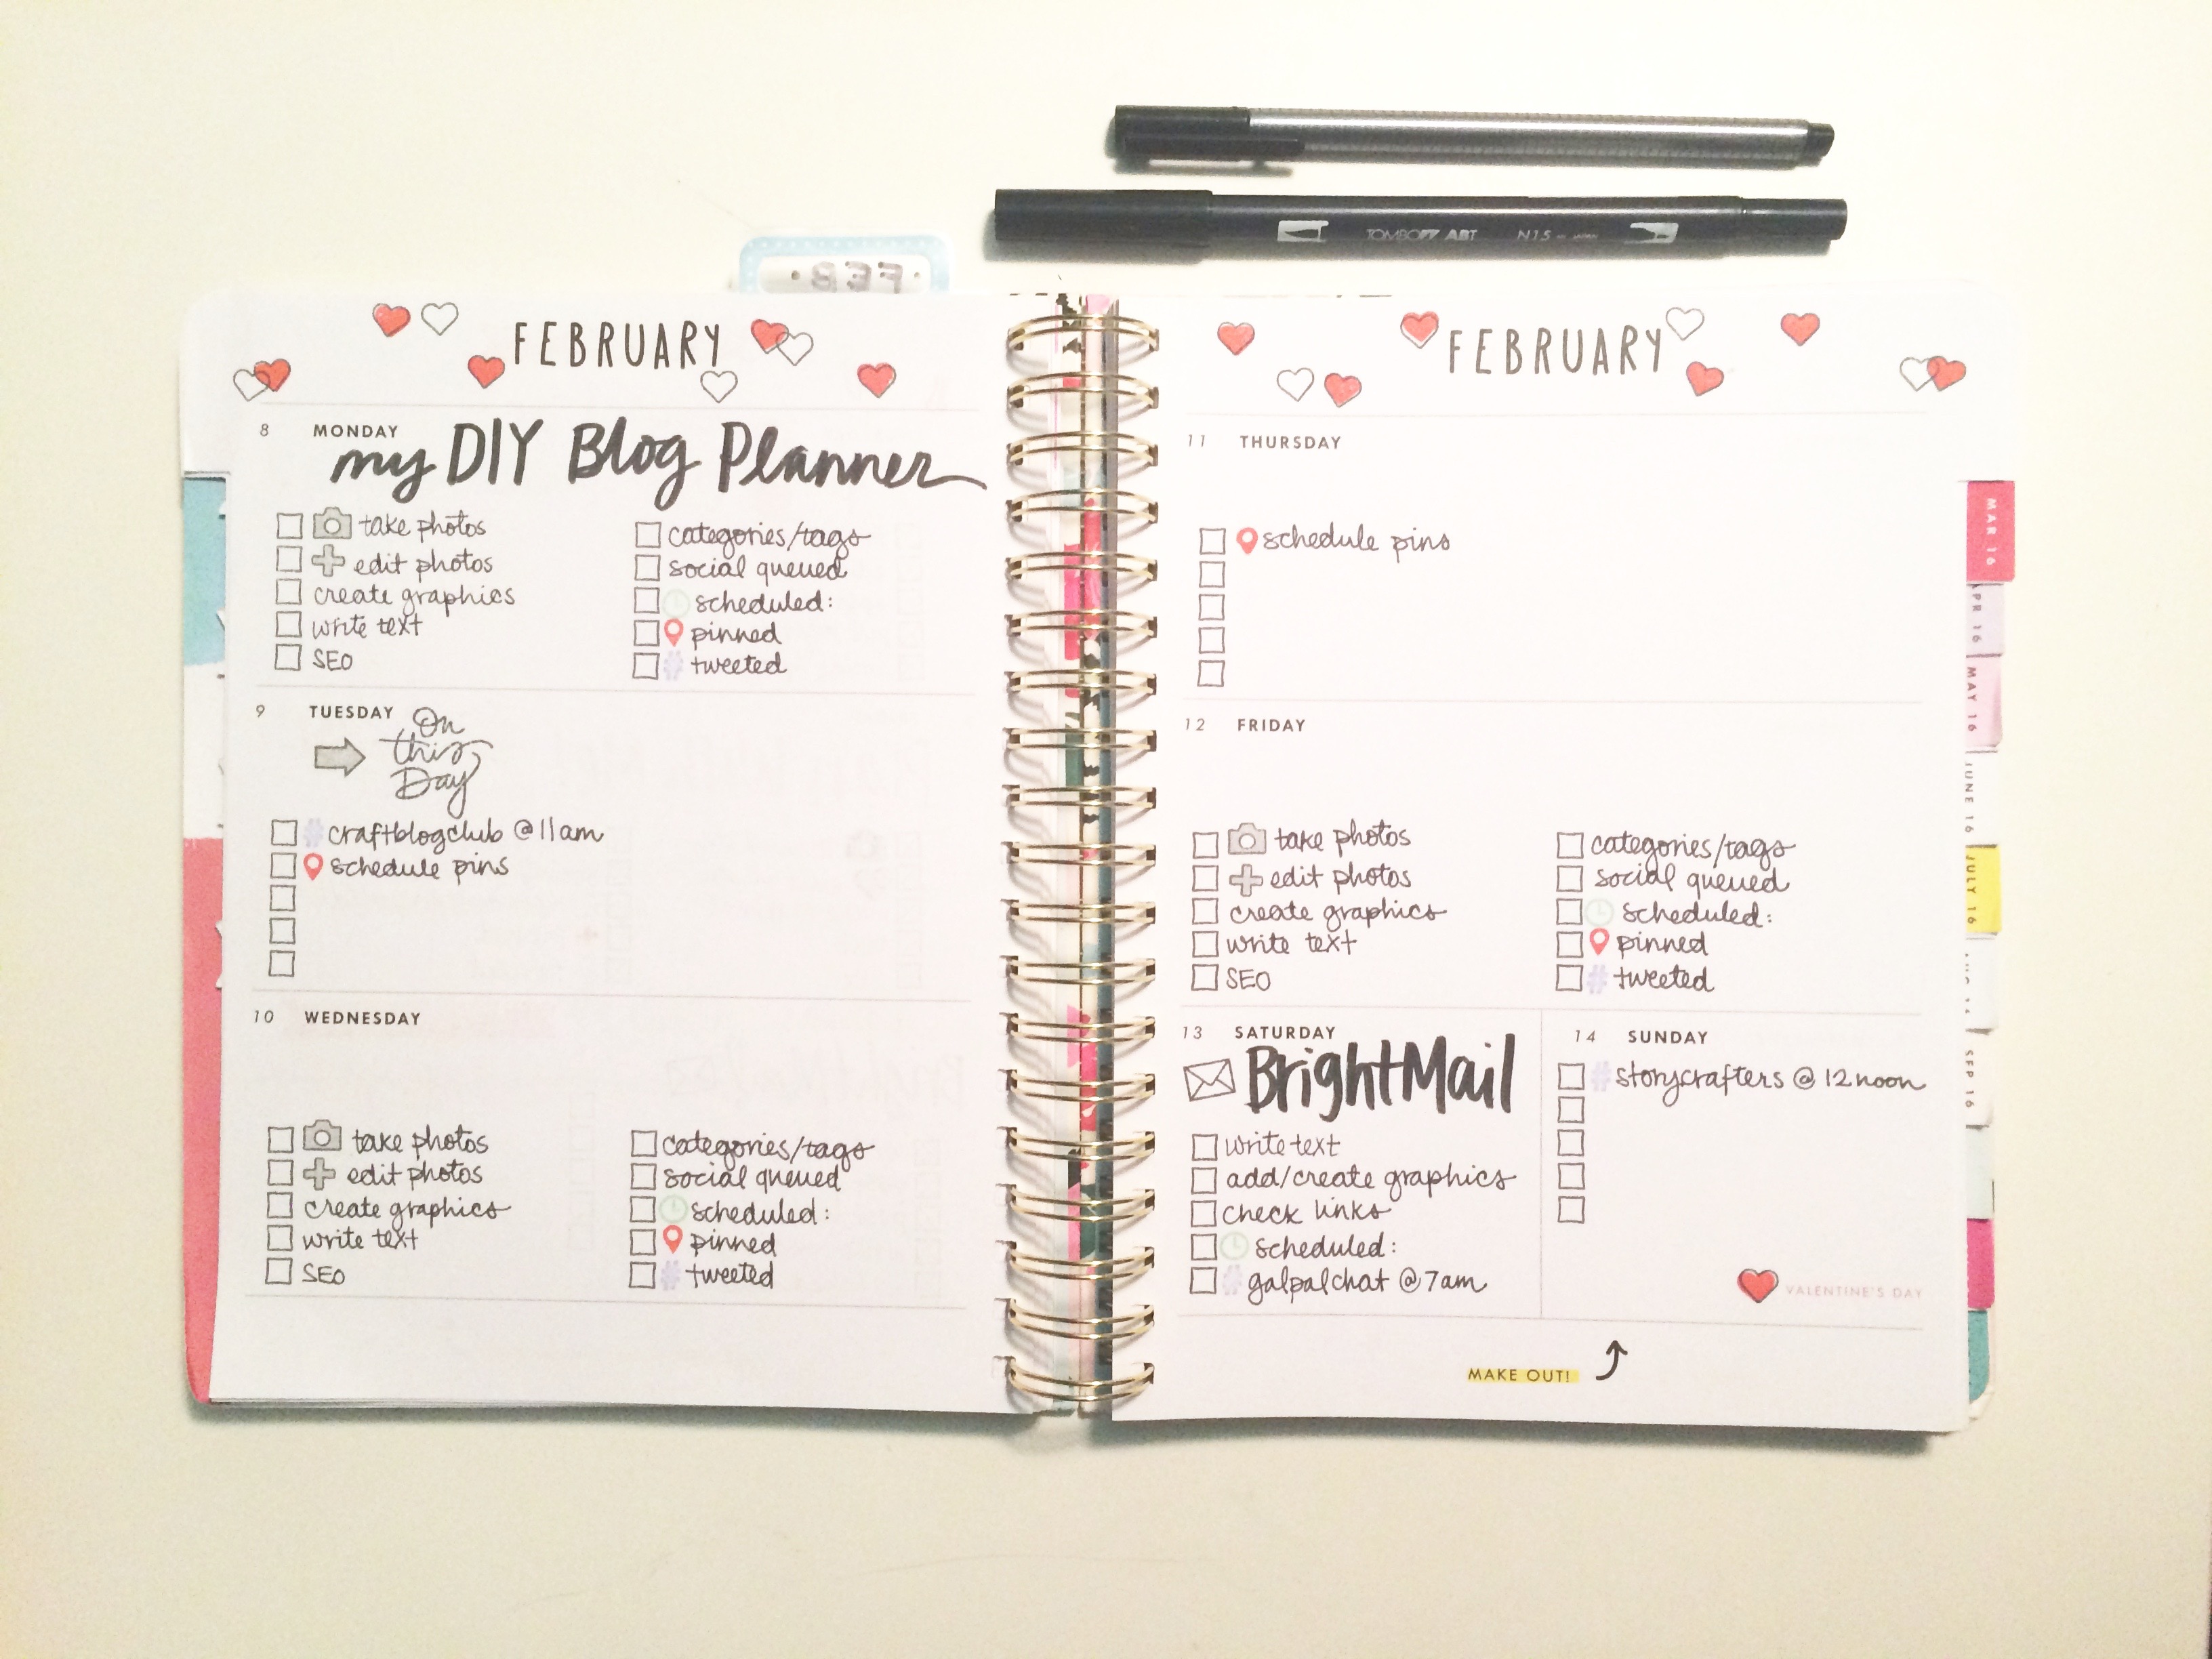
Lastly, I fill in all the to-dos and use a thick marker to write in the scheduled post idea. For each post, I have ten tasks listed that get checked off as I complete them. The rest of the days, I mark events (like Twitter Chats) and other tasks I want to get done.
If you prefer to work in a batch-schedule, this kind of planner might not work for you. But I find that having a to-do list for each post is incredibly helpful when you’re working day-to-day and creating as you go.
Now, I know that not everyone shares my love for stamps, or has a spare planner laying around. So I went ahead and created a printable version of my blog post planner just for you! Click here or the image below to download this printable (it even comes in two colors!)

And because one printable is never enough, I’m offering a WHOLE planner kit to my BrightMail subscribers! It includes the Blog Post Planner, a Weekly Blogging Schedule, and a Social Media To-Do Chart, ALL in three different color options (ooh la la!). If you’re already subscribed, you can access it in the WBT Library. And if you’re not already a subscriber, click here or the image below to get your VIP Pass to the WBT Printable Party!


Whether you’re planning to make a DIY Blog Planner or use some of the WBT Printables, I hope this post gave you some organization inspiration to keep you moving forward with your blog!
Thanks for reading.


